Adjust Z Offset Ender 3 V2 Pro
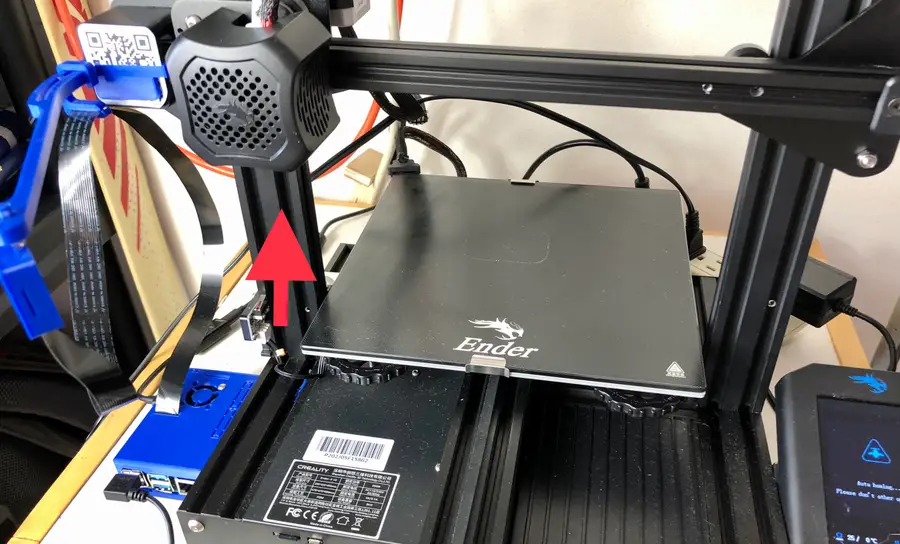
Locate your Z-axis limiter switch
Your Z-axis limiter switch is located on the bottom-left of your Ender 3, Ender 3 V2, and Ender 3 Pro printer.
Determine whether you need to adjust it up or down
Adjust up
Most of you will need to adjust your Z-axis limiter switch up a touch. You’ll find that you’ve been struggling to get the print bed far enough away from the extruder during leveling—meaning the extruder is sitting too low by default.
Adjust down
Rarely will you need to adjust it down, and you can only adjust it down so much before it doesn’t go further. If you find that you need to adjust it down beyond the bracket, then you might be having a different issue that adjusting the Z-axis limiter switch will not solve. (For example, make sure you’re leveling your print bed properly.)
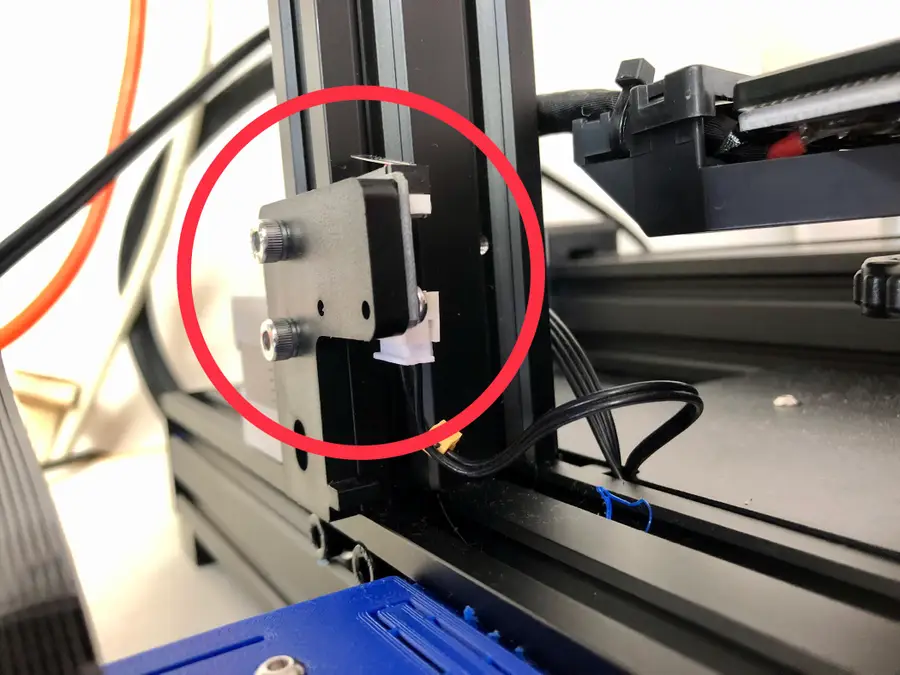
Adjust the Z-axis limiter switch
On your Ender 3, Ender 3 V2, and Ender 3 Pro, you’ll see two M5 bolts with two M5 t-nuts.
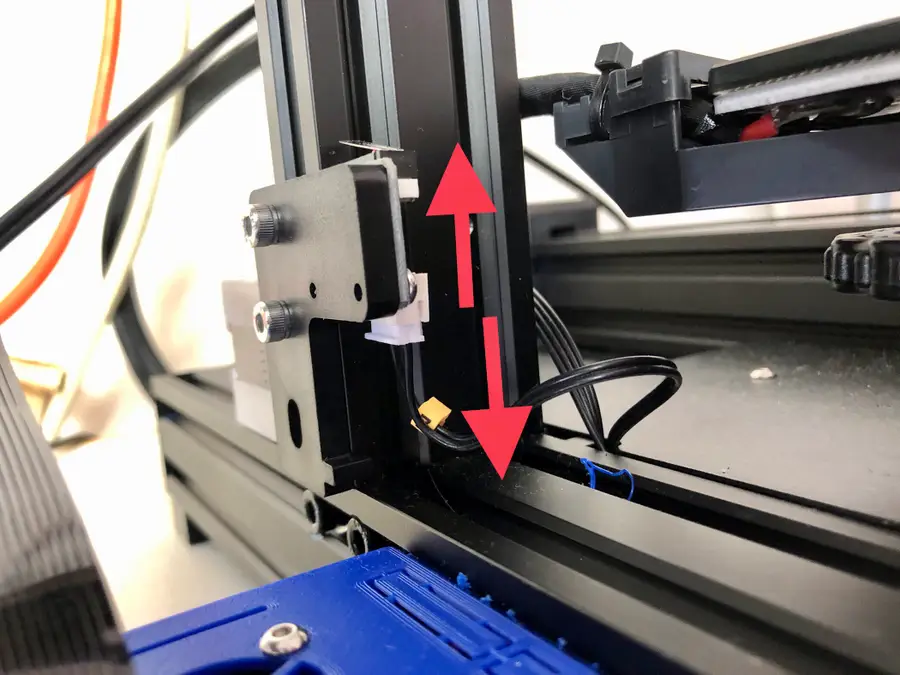
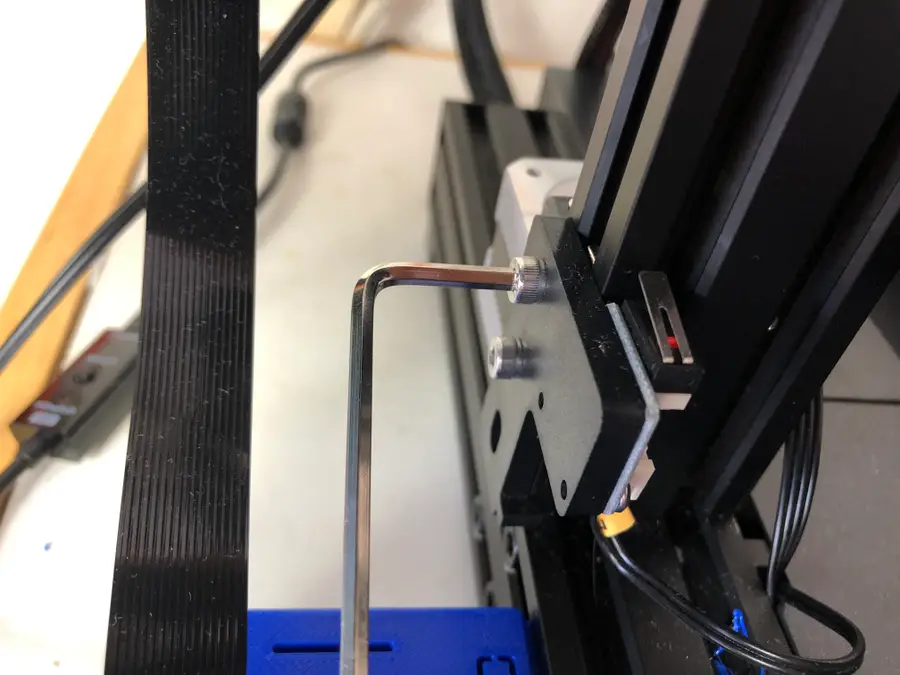
- Carefully loosen each bolt just enough to slide the Z-axis limiter up or down the 2040 aluminum frame.
- You’ll likely only need to move the Z-axis limiter switch up 1 or 2 mm to correct your issue. So only raise it a bit before testing it.
- Tighten the bolts into the t-nuts.
Test your new Z-offset
Run an auto-home sequence and try to level your bed.
The bed should now be somewhat in the middle of the spring’s height when leveling, and the extruder shouldn’t be too far away or too near the print bed.
If you need to adjust it further, simply return to step 3—and adjust again.