Ender 3 V2 Firmware Update
Download the firmware update from Creality

Head over to the Creality downloads page.
- On the left side of the page, navigate to Ender Series > Ender-3 V2 3D Printer.
Do not select the original Ender 3. Make sure you select the V2.
- Find the download link for the “Latest Firmware.” They will be Zip files containing the different firmware versions. As of this writing, they look like this:
Note that there are now two different firmware versions depending on whether your Ender 3 V2 is running the 4.2.2 motherboard or the quiet 4.2.7 motherboard.
- Choose the correct mainboard version.
- Unzip the file.
- Select the latest firmware.
BLTouch firmware
If you have BLTouch installed on your Ender 3 V2, then make sure to select the firmware that says “BLTouch.”
Unzip the archive

The firmware archive you downloaded will be either in ZIP or RAR format. ZIP can be opened natively on both Mac and Windows.
If you’re using a Mac, check out my guide on unzipping .rar files. You’ll have to download a third-party app to do it.
Put the `.bin` update file on an empty MicroSD card.
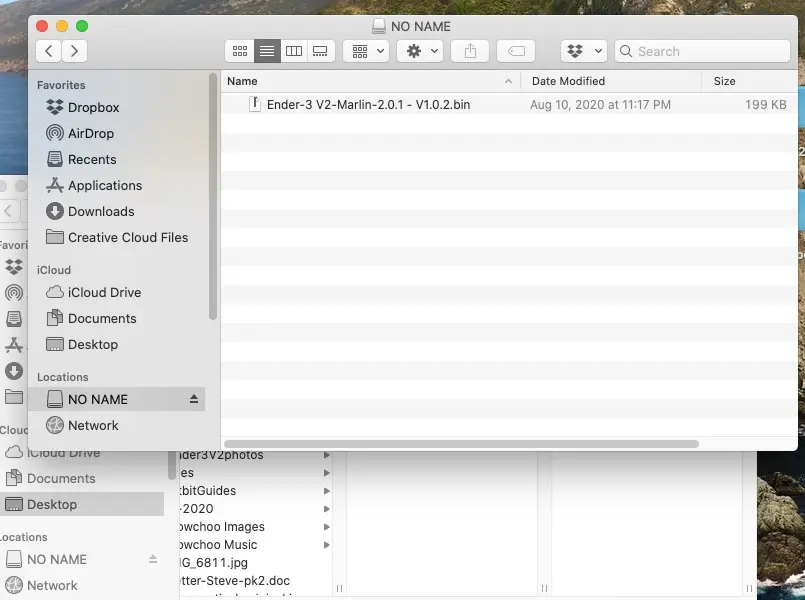
- Open the decompressed download file.
- Locate the
.binfile with the firmware update version, ex. V1.0.2. - Move the
.binfile onto an empty MicroSD card. - Safely eject the microSD card.
Put firmware update in the Ender 3 V2
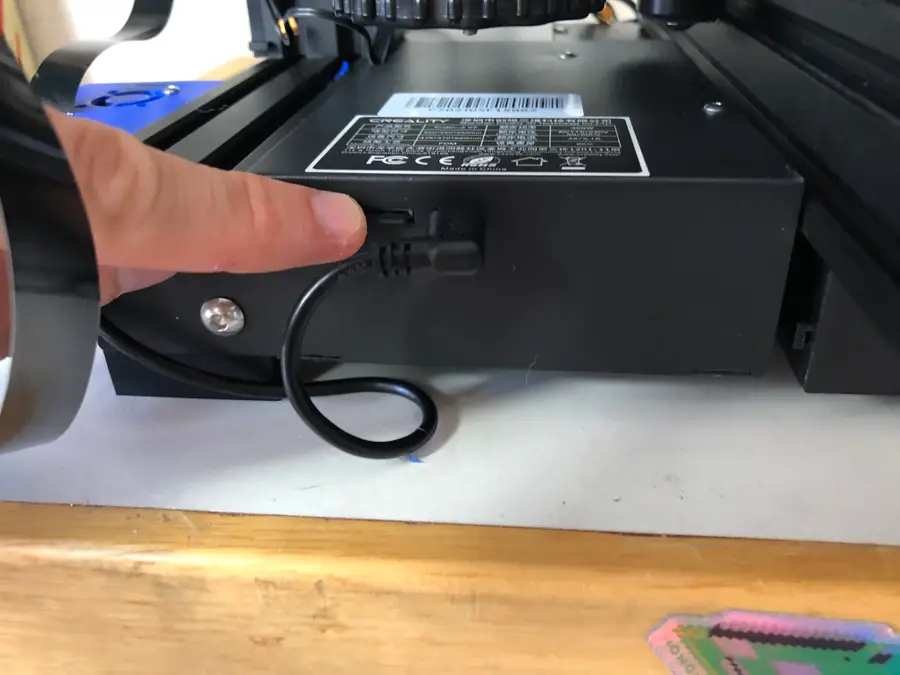
Make sure you begin these steps with the printer off.
- Plug your MicroSD card containing the update file into your Ender 3 V2.
- Turn on your Ender 3 V2.
The screen should go blank for a few seconds before booting up. This is normal.
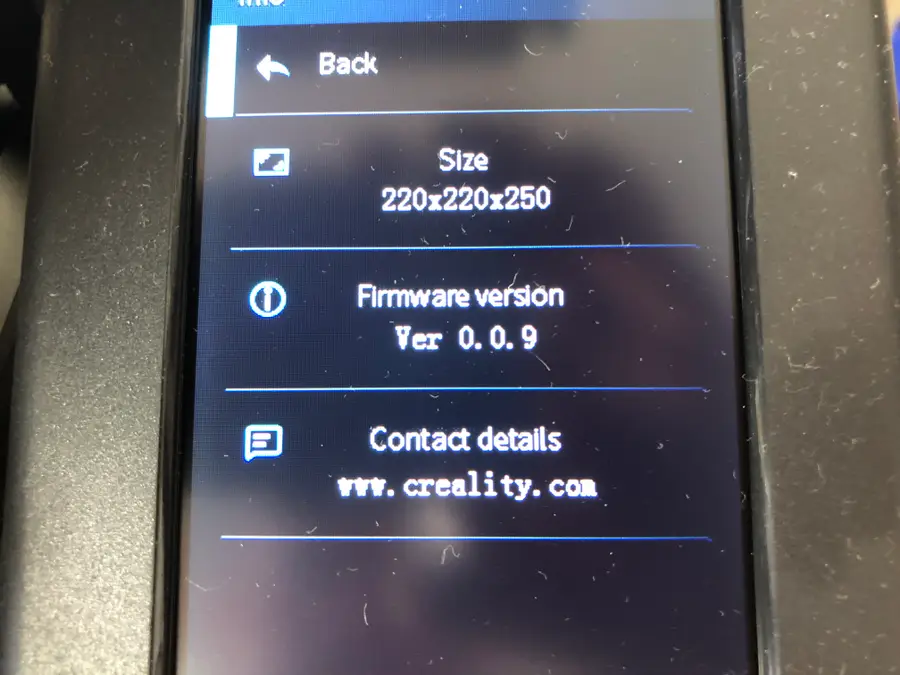
- The Ender 3 V2 will boot up with the new firmware installed.
- Unplug your MicroSD card.
You’re all done! Your firmware is now up to date.