Partition Hard Drive Macos
Partition a hard drive using Disk Utility

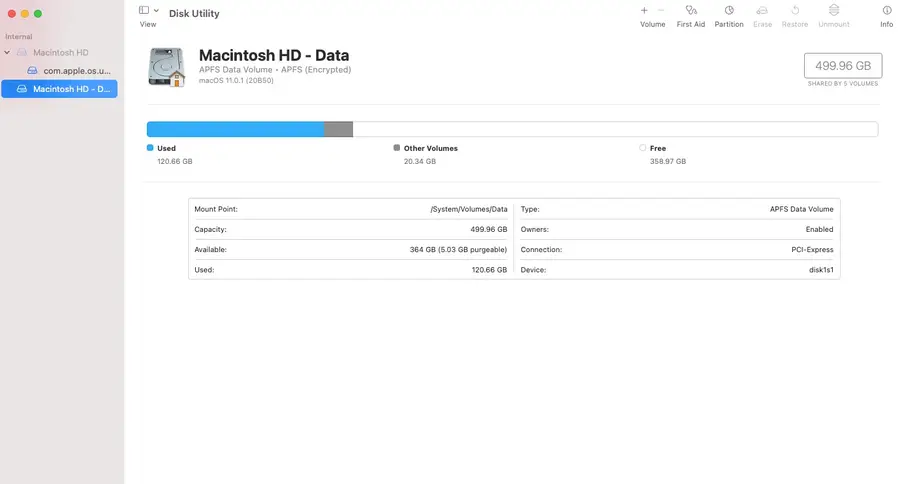
Navigate to Applications > Utilities > Disk Utility. Or search for Disk Utility in Mac’s Spotlight Search.
When Disk Utility is open, select the hard drive you want to break into a partition on the left side of the window.
- Click Partition from the top menu bar.
- Select Add Volume to create a new partition.
- Choose a size and name for your new partition.
- Click Apply.
It may take a few minutes for the process to complete.
Partition a hard drive using Terminal
Navigate to Applications > Utilities > Terminal.
Use the diskutil list command to see a list of drives connected to your computer. Take note of the disk name on the drive you want to partition.
This is the command to create a single partition:
diskutil partitionDisk /dev/disk2 GPT JHFS+ NewPartition 0bReplace /dev/disk2 with the name of your hard drive. Replace JHFS+ with the formatting of your choice. Changing NewPartition will change the name of your new partition. Lastly, 0b represents the size of the new partition. Adjust this to create a specific partition size.
Here’s an example showing the creation of multiple 10GB partitions:
diskutil partitionDisk /dev/disk2 GPT JHFS+ Partition1 10g JHFS+ Partition2 10gIt may take a few minutes for the partition to be created. Congratulations! You’ve successfully split your hard drive.