Install Snapshot Version
1
Download the zip file
Be sure to save this zip to a location on your computer that you can easily access later. You can download the latest snapshot from Minecraft’s website or by clicking this link.
2
Unzip the file
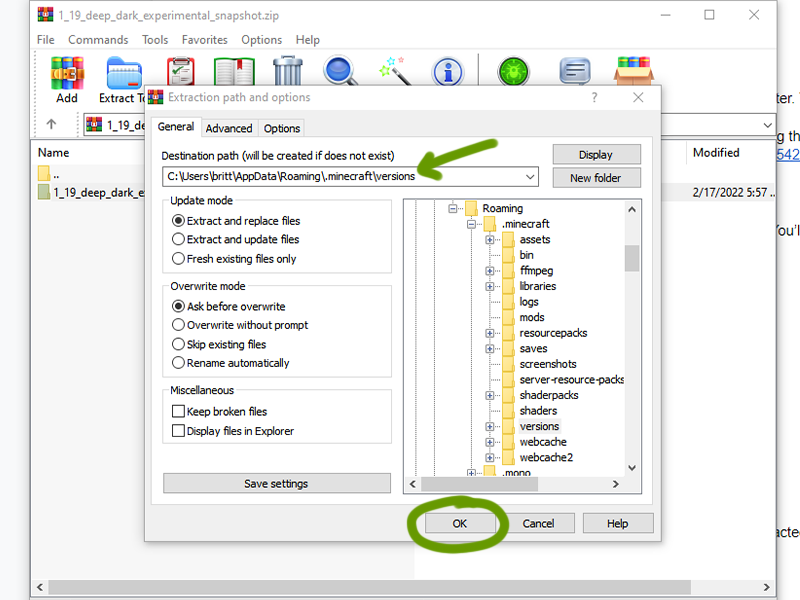
To unzip, you’ll need a program like WinZip to do so. You’ll want to export this file into your .minecraft/versions folder.
To find your .minecraft folder:
- Windows: Press
Win+Rand type%appdata%.minecraftand press “Ok” - Mac OS X: Ijn the Go menu in Finder, select “Go to Folder” and enter
~/Library/Application Support/minecraft - Linux:
~/.minecraft or /home//.minecraft/
3
Start the Minecraft Launcher
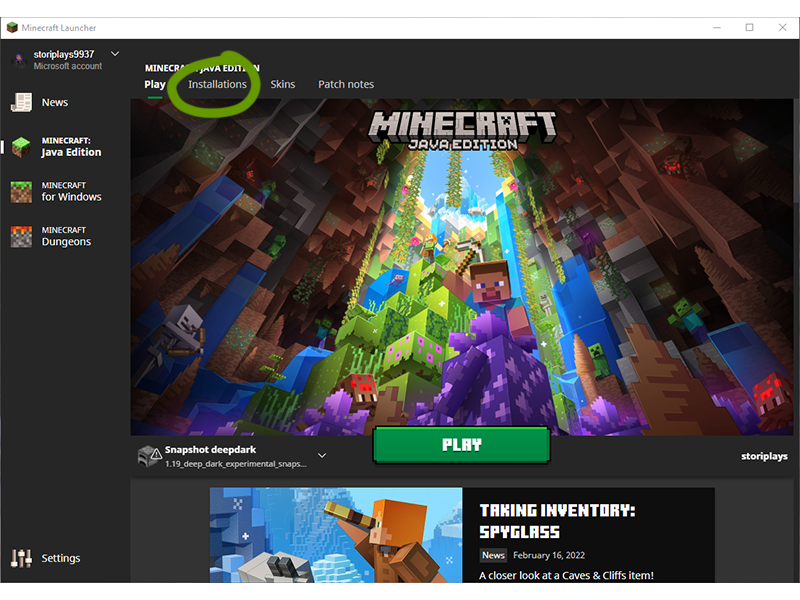
Once the launcher is open, navigate to the “Installations” tab.
4
Add a new installation
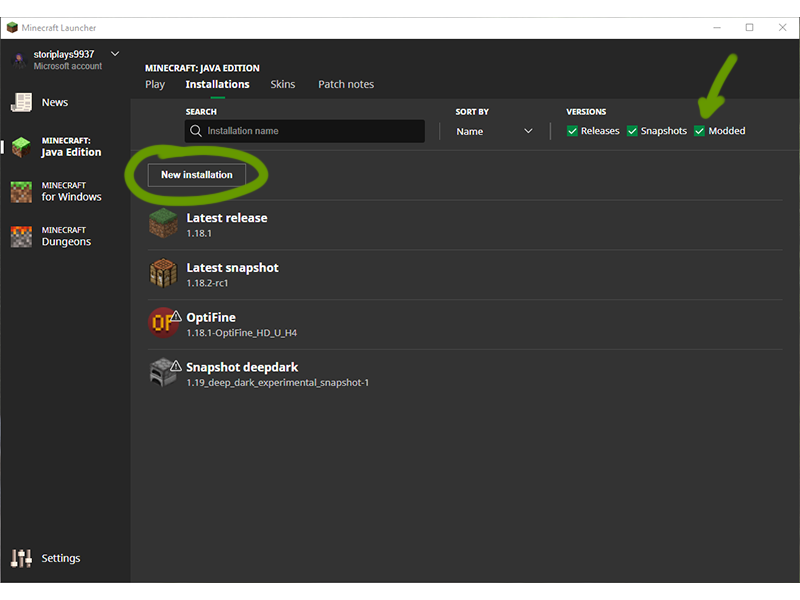
Make sure the box for “Modded” is ticked, then click the New Installations button, as shown above.
In the new window that appears:
- Name it whatever you want.
- Click the version that matches the name of the file you downloaded and extracted.
- Click
Createwhen ready.
5
Play!
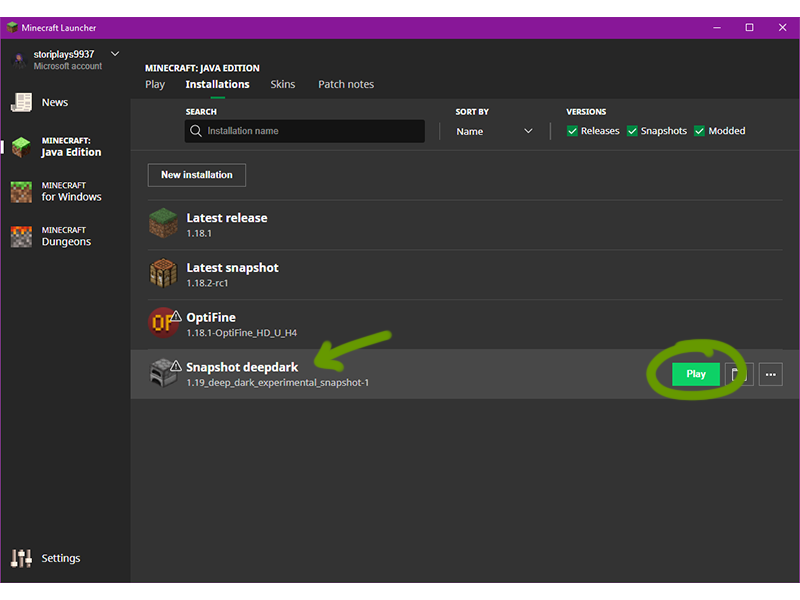
You should now see the created new installation listed in the Installations tab. Press Play to start up Minecraft!
Learn about the first 1.19 experimental snapshot, featuring the Deep Dark Biome!