Nintendo 64 Cartridge Save Battery Change
Nintendo 64 replacement battery
For the replacement battery you’ll need a CR2032 battery with pre-soldered tabs. This is the direct replacement for your old N64 cartridge battery. This is the battery I used and it came with a 3.8mm security screwdriver, which you’ll need later.
Unless you have a pulse spot welder laying around, don’t solder anything directly to the battery.
Open the N64 cartridge
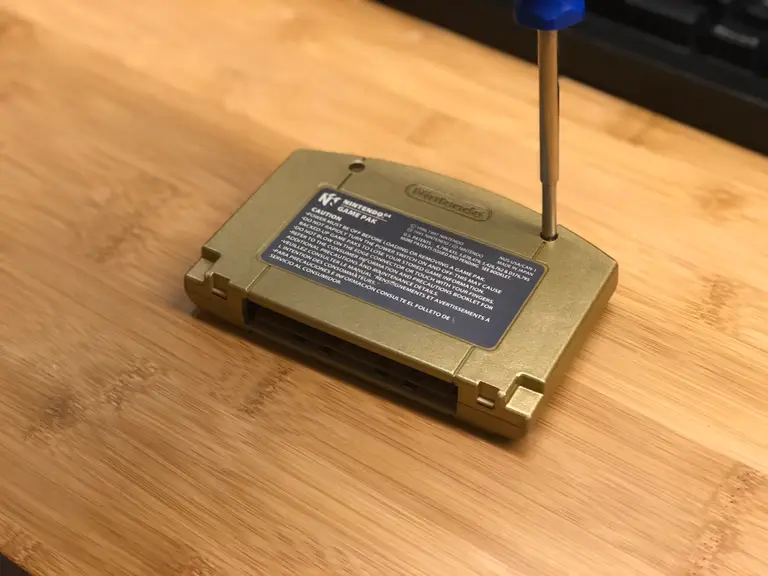
As always, Nintendo loves to try and keep us out of their hardware. You’ll need a 3.8mm security screwdriver to open the cartridge. Use it to remove the two screws on the back and open the case.
Remove the RF shield
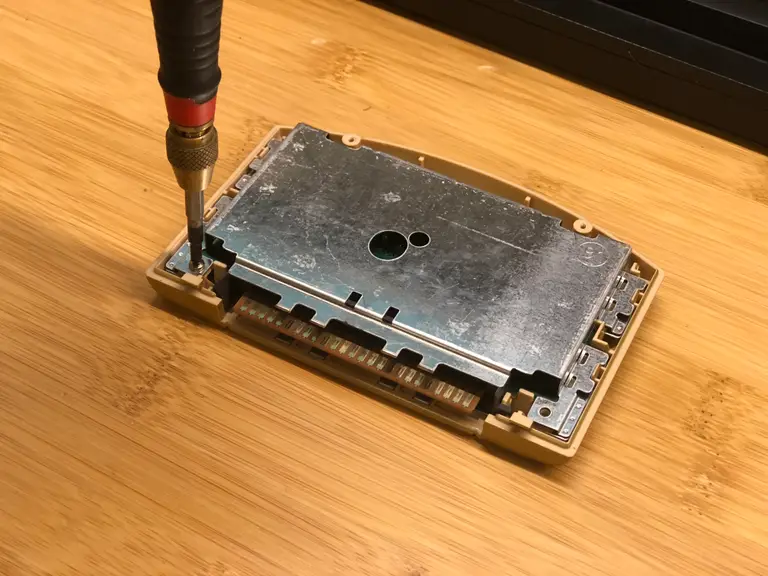
Use a small Phillips screwdriver to remove the electromagnetic shielding.
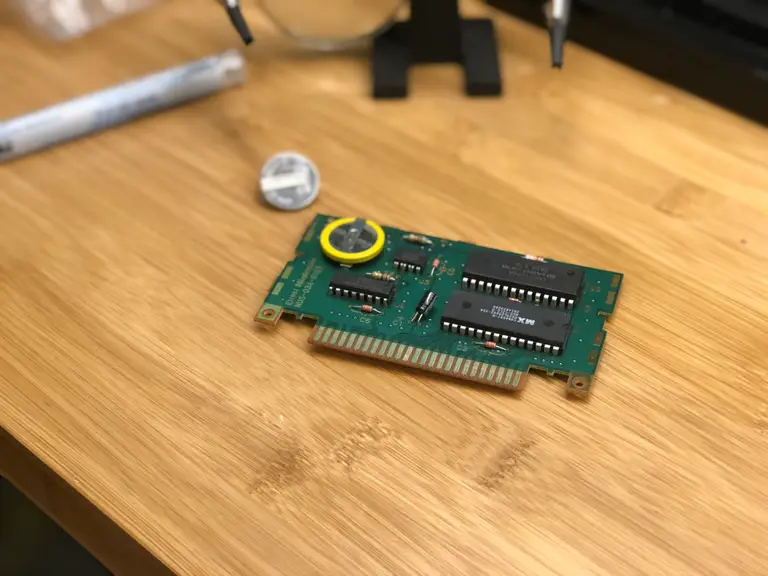
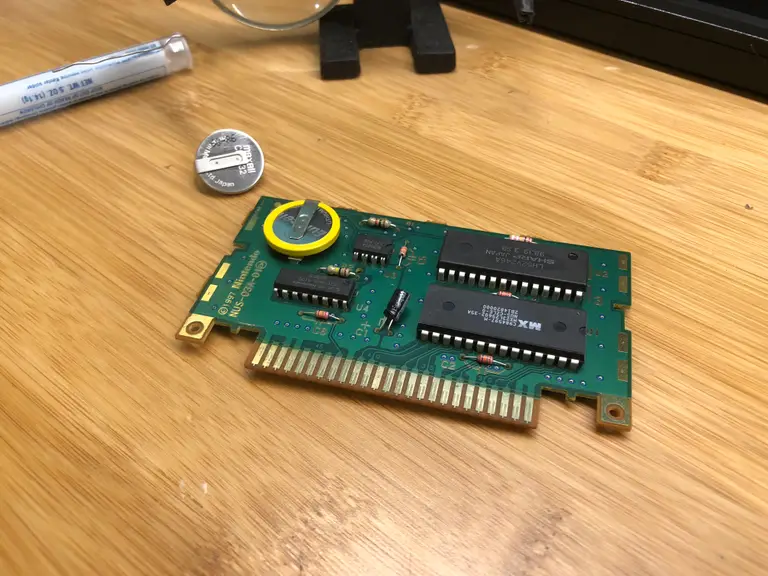
Locate the battery
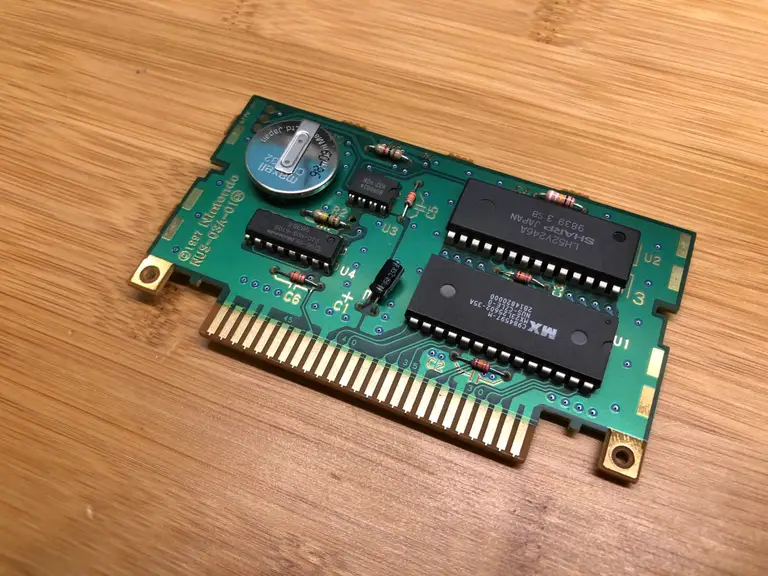
The battery is located on the same side of the cartridge as the microchips.
My battery is from 1998! That’s over 20 years old.
Desolder the battery tabs
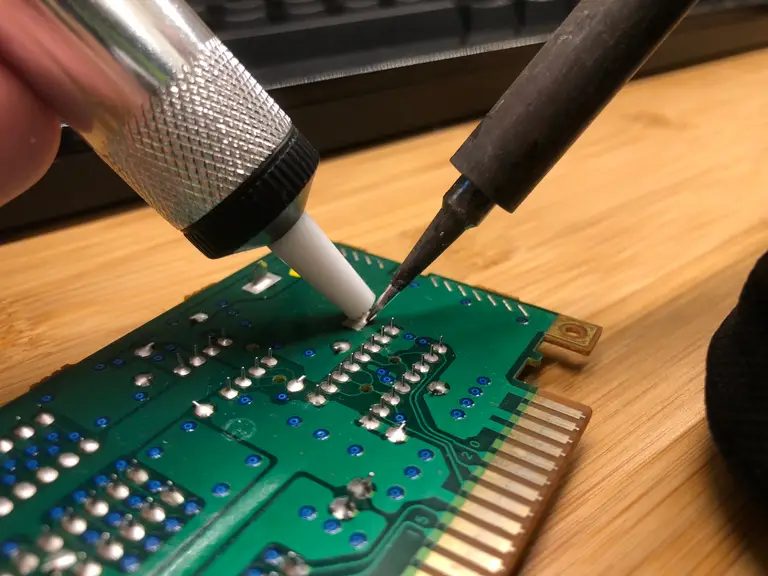
Locate the two large tabs on the other side of the board protruding from the battery. Heat each up with your soldering iron and use your solder sucker to desolder them.
Solder the new battery
Your replacement battery has one wide tab and one narrow tab. This makes orientation easier as the battery is not reversible. Solder the new battery in place.
Reassemble everything
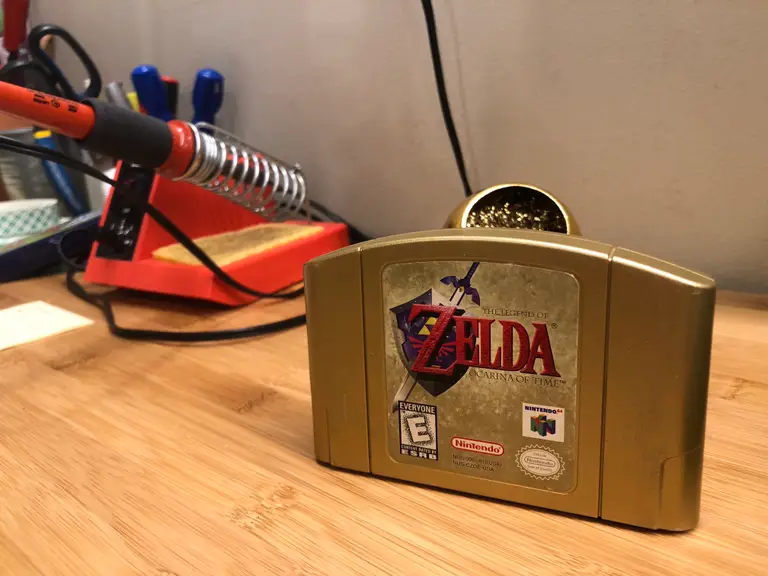
As always, assembly is the reverse of disassembly. You’re ready to play!
Now, let’s tackle that loose N64 joystick.
How to Fix or Replace Your Nintendo 64 Controller’s Joystick (And Why It Broke)
Spoiler: Mario Party did it. Mostly.