Gamepad Zero A Raspberry Pi Retro Gaming Rig In An Nes Controller
1
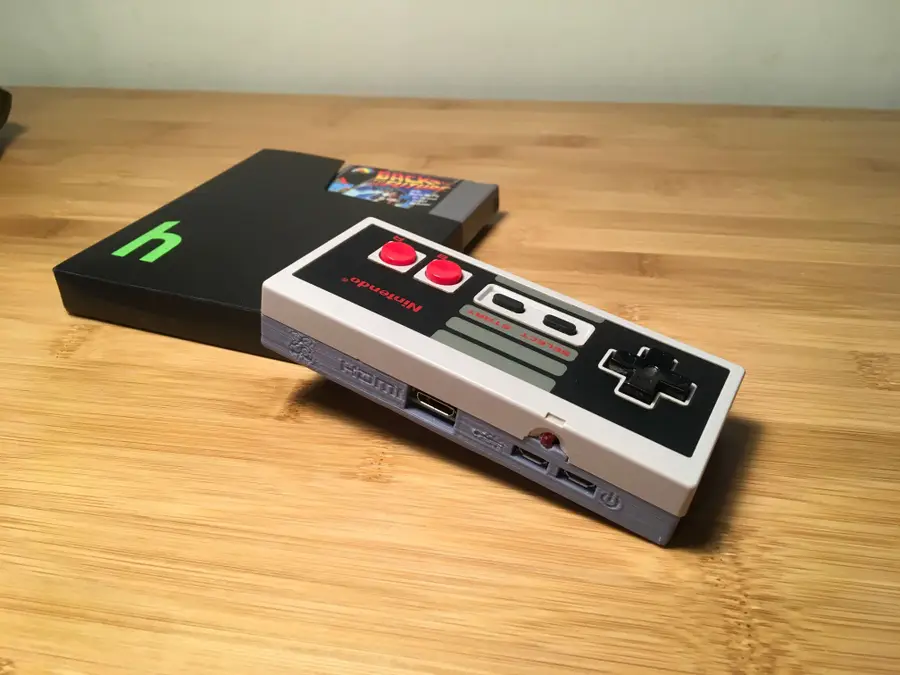
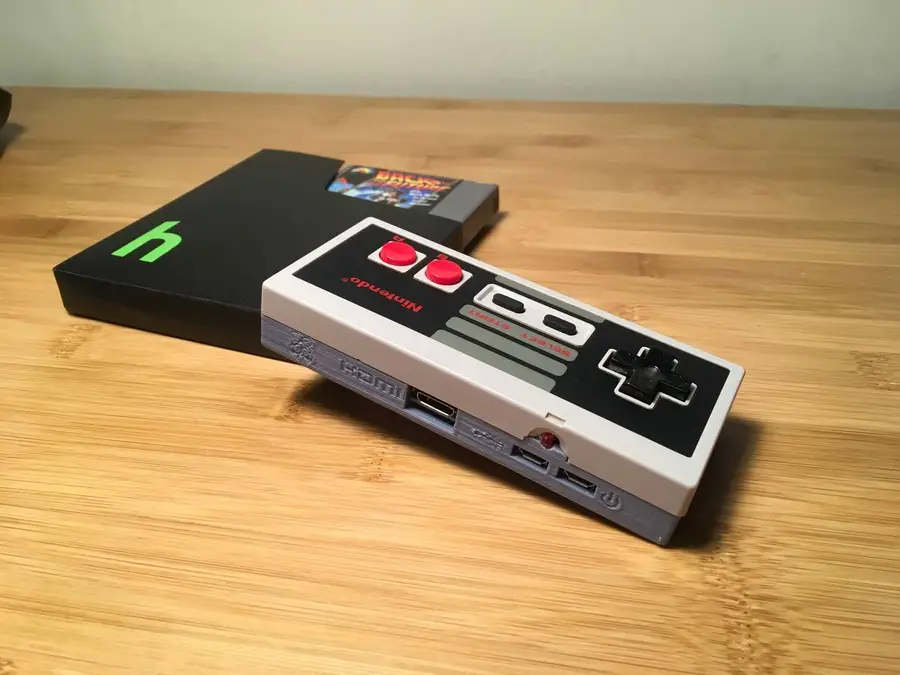
The completed project
2
Overview
a model by bfesser from ThingiverseDon’t have access to a 3D printer? Read on!
Project cost
Project time
3
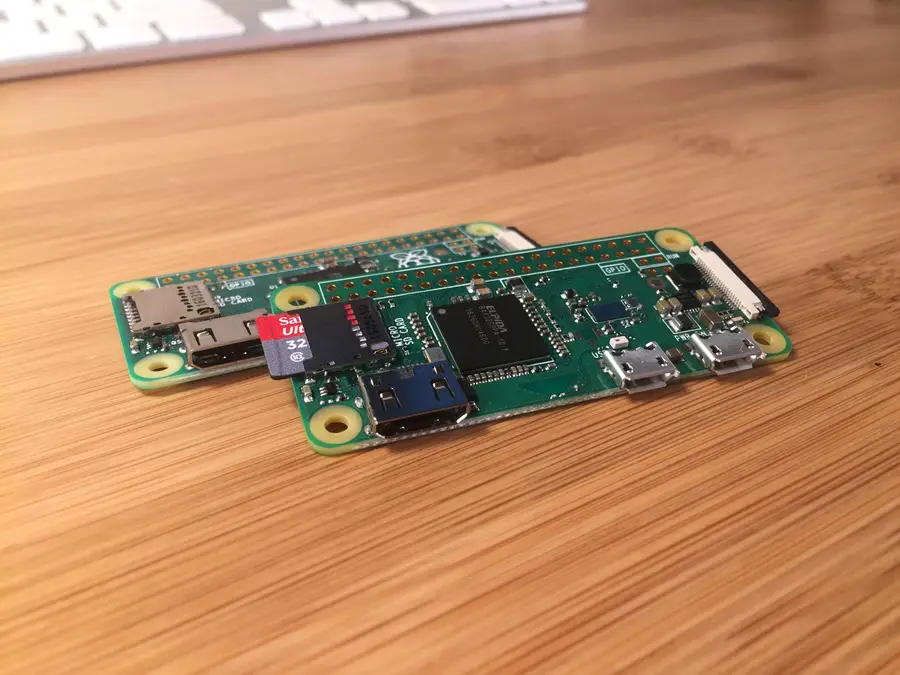
Choose your Zero
4
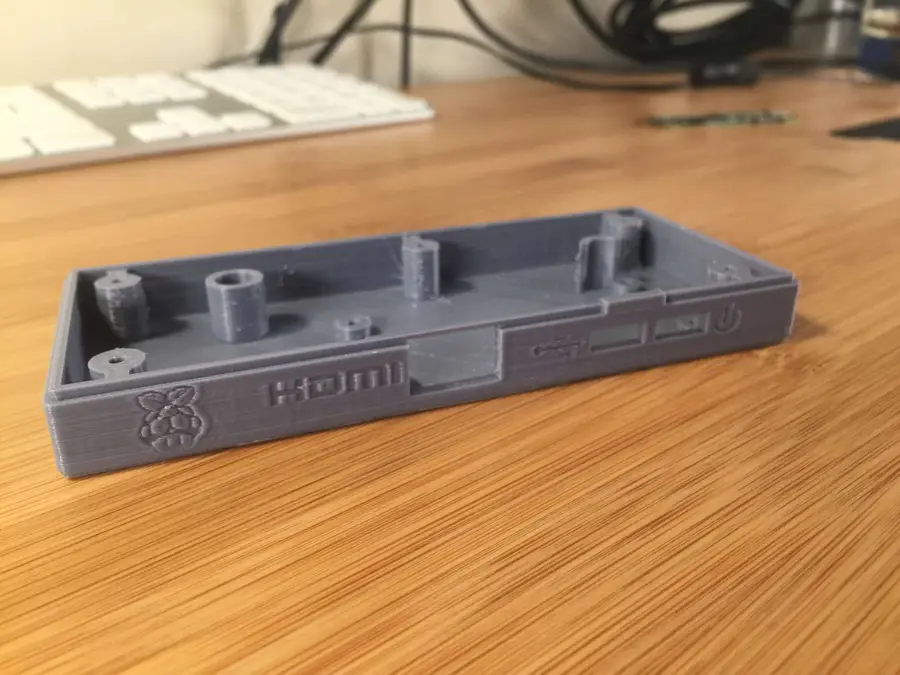
Print the model
5
Don’t have a 3D printer?
Use an online 3D printing service
ShapewaysFind your local hackerspace/makerspace
using this toolCheck your local library
Check Craigslist
Buy a 3D printer
Ender 3 reviewCreality Ender 3 Review: The Best 3D Printer Under $200Geeetech E180 3D Printer Review: A Mini Budget 3D Printer
6
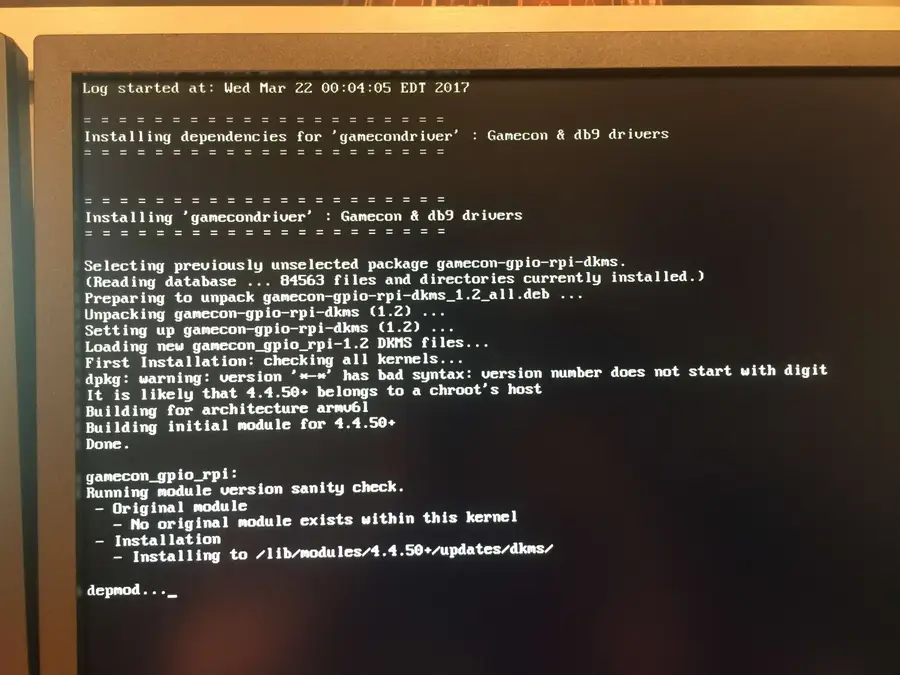
Install RetroPie

7
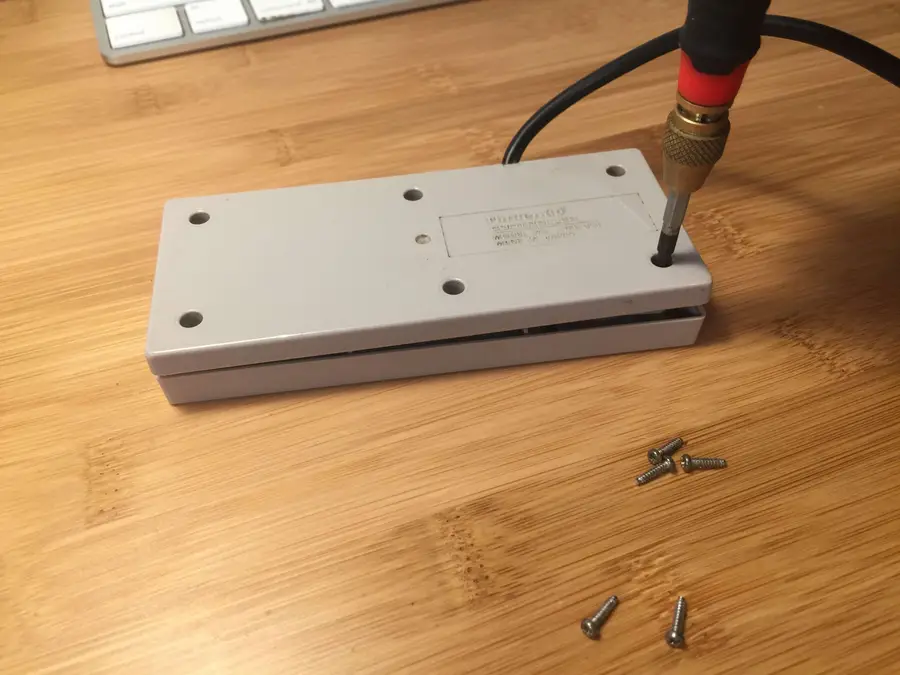
Disassemble your NES controller
8
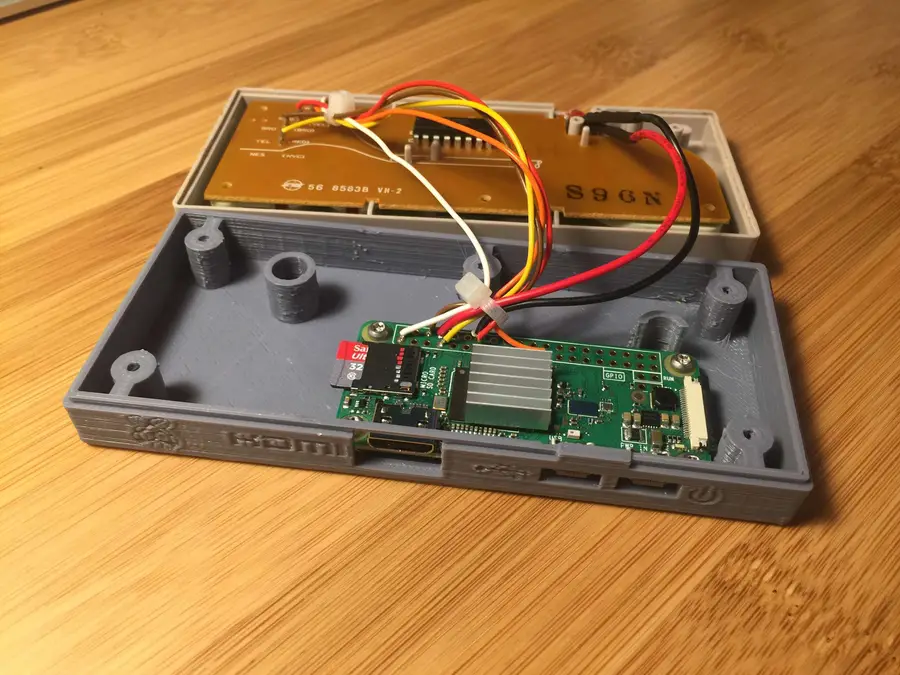
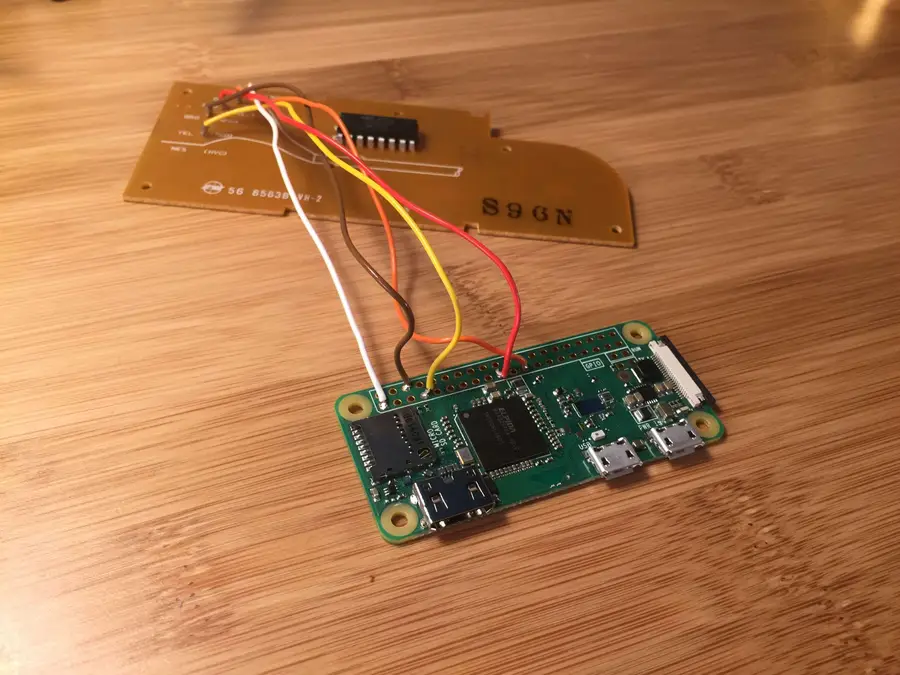
Solder your connections
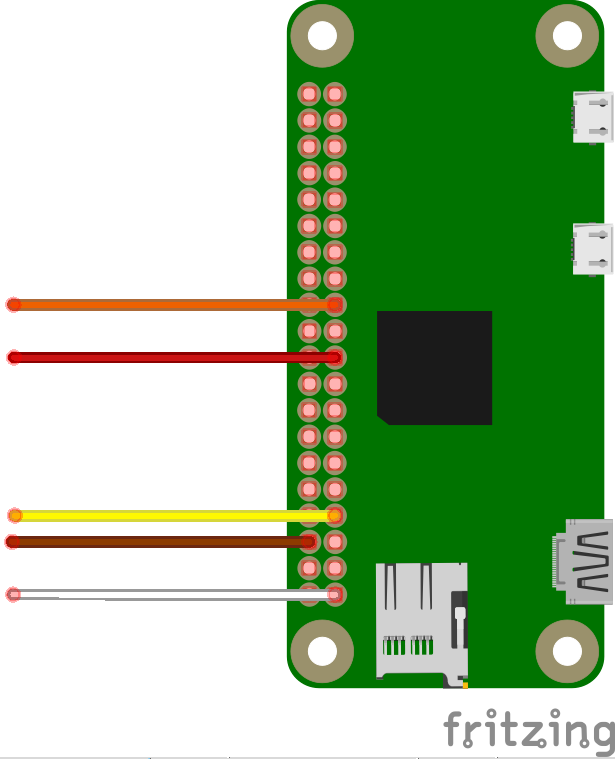
Fritzing file
Need a good soldering iron?
our guide on the best soldering ironsThe Best Soldering Irons: Read This Before You Invest (2022)Don’t know how to solder?
This video9
All soldered up!
10
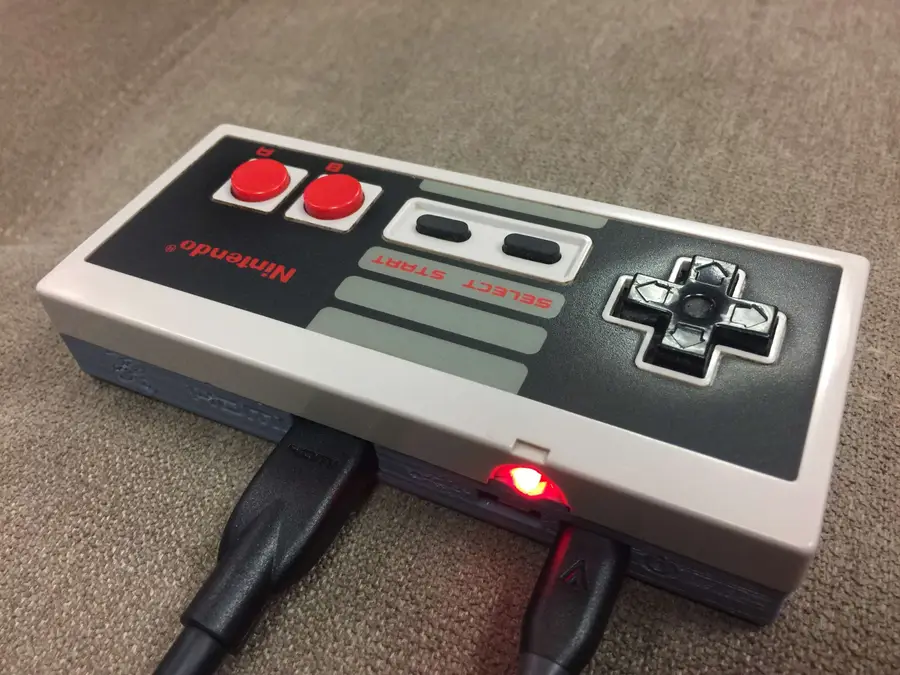
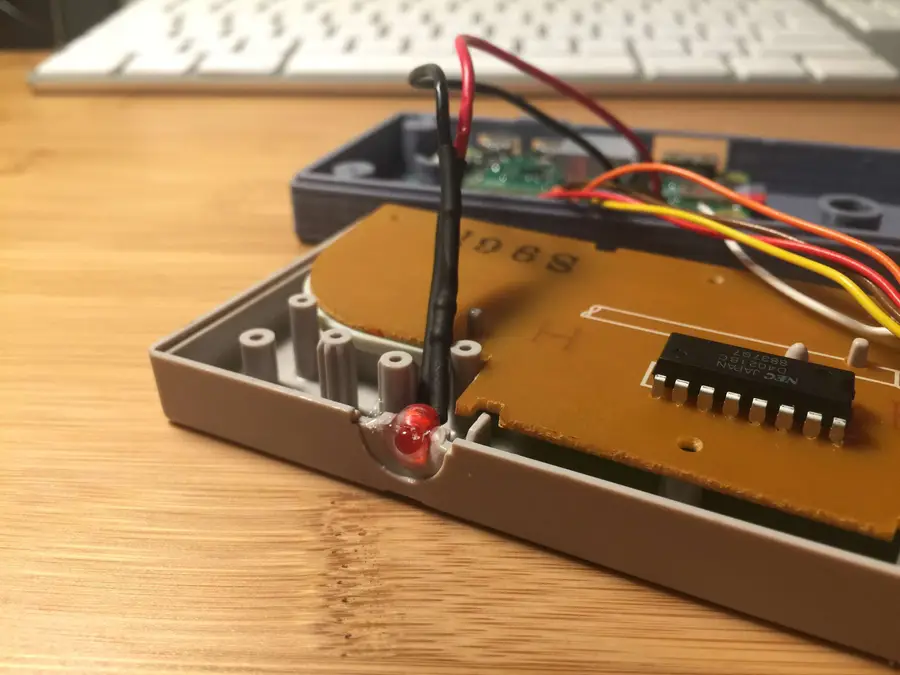
Add a power LED (Optional)
11
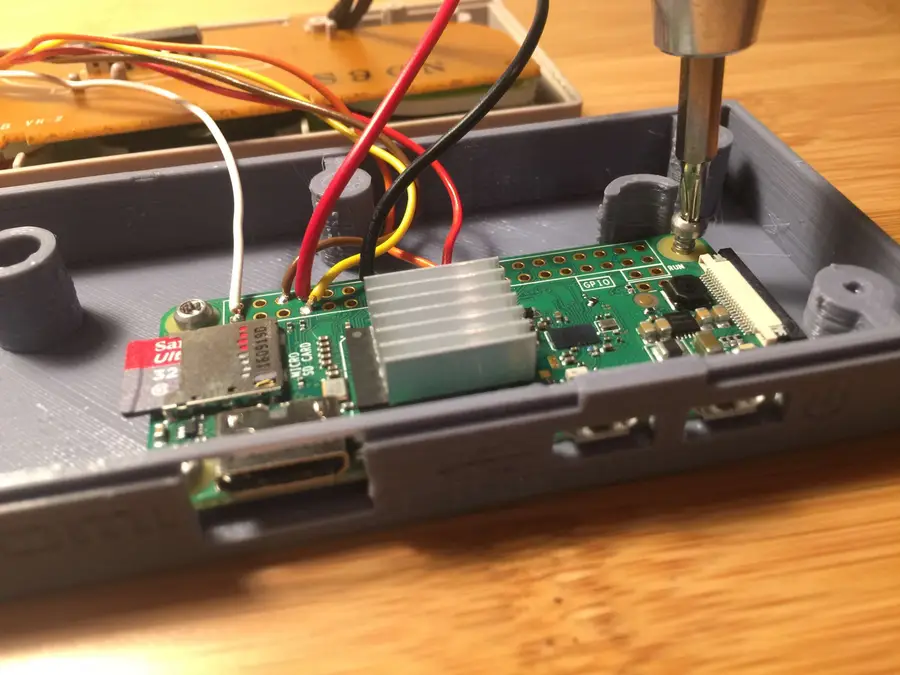
Add a heatsink (Optional)
12
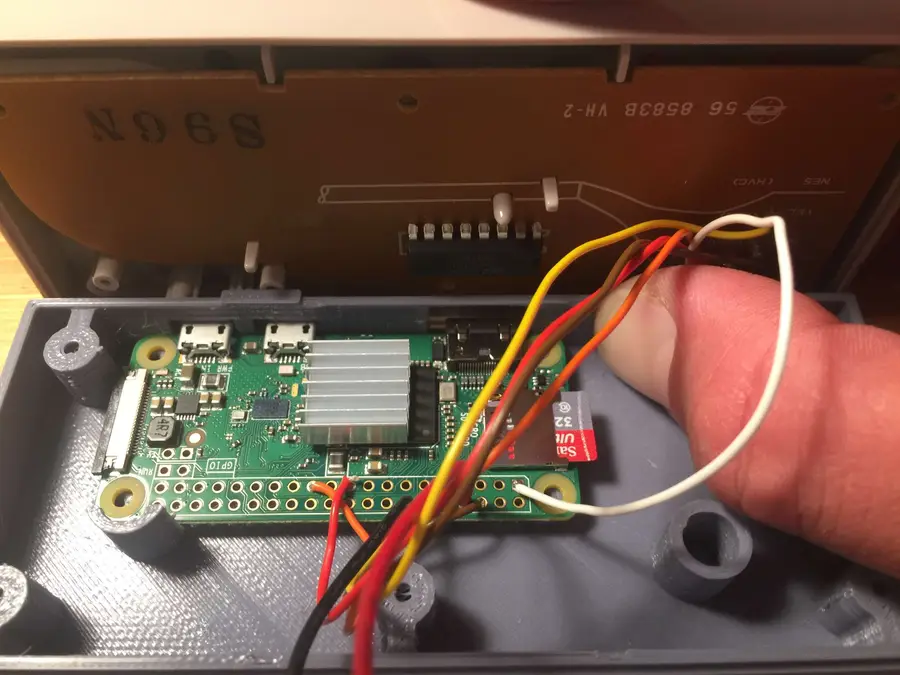
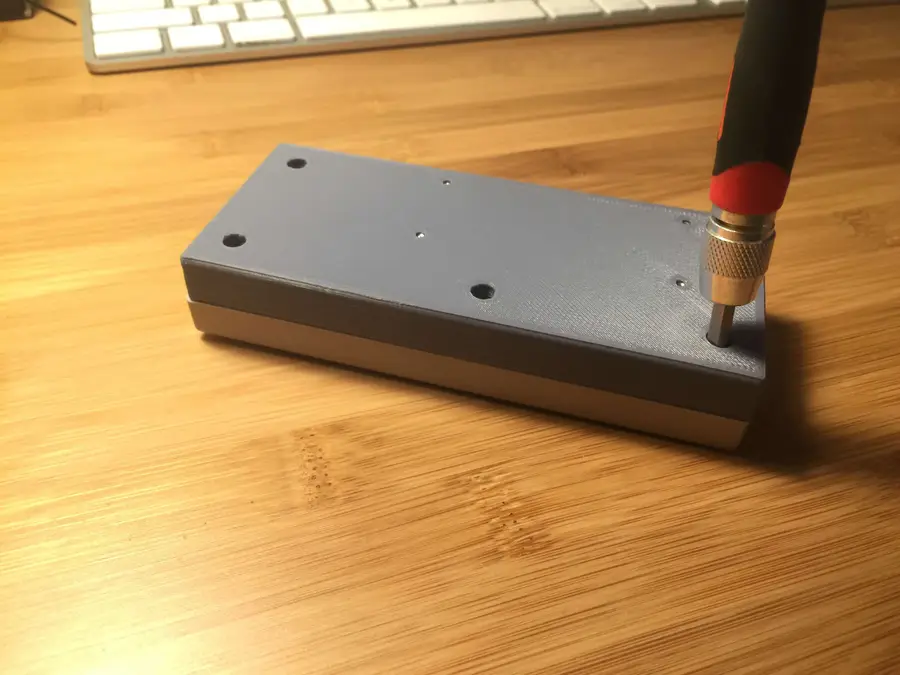
Mount your Pi
13
Reassemble the housing
14
Size comparison
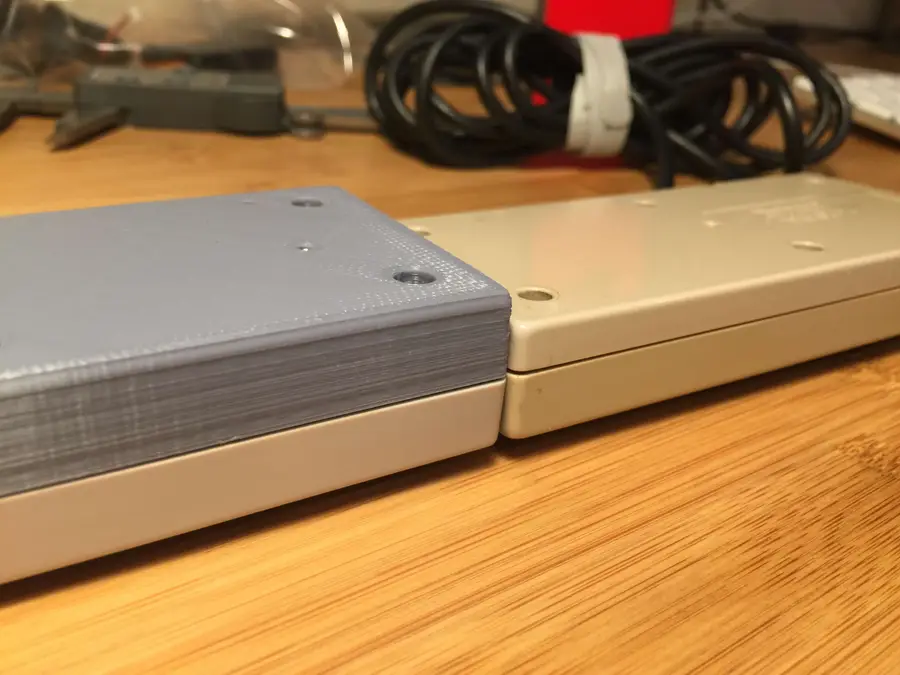
15
Configure your NES controller for RetroPie
RetroPie Setup > Manage Packages > Manage Driver PackagesOption 809: gamecondriver
gamecondriver813: gamecondrivergamecondriverdropping a file on your SD cardHow to Set up WiFi on Your Raspberry Pi Without a Monitor (Headless)connect to your Raspberry Pisudo sh -c 'echo "gamecon_gpio_rpi" >> /etc/modules && echo "options gamecon_gpio_rpi map=0,0,2,0,0,0" > /etc/modprobe.d/gamecon.conf && reboot'16
Add a power button (Optional)
17
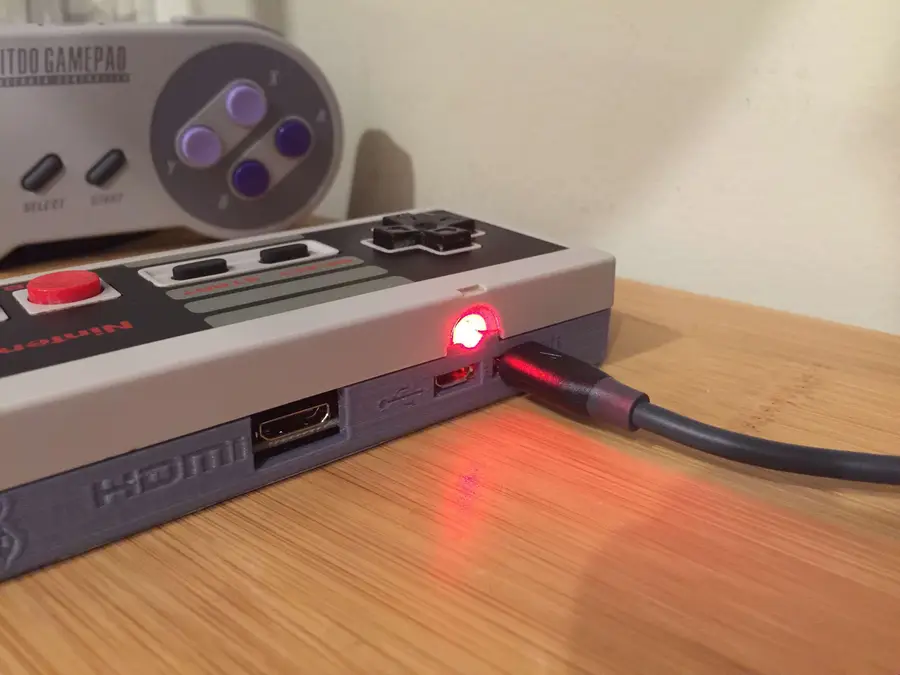
Ready Player Two!
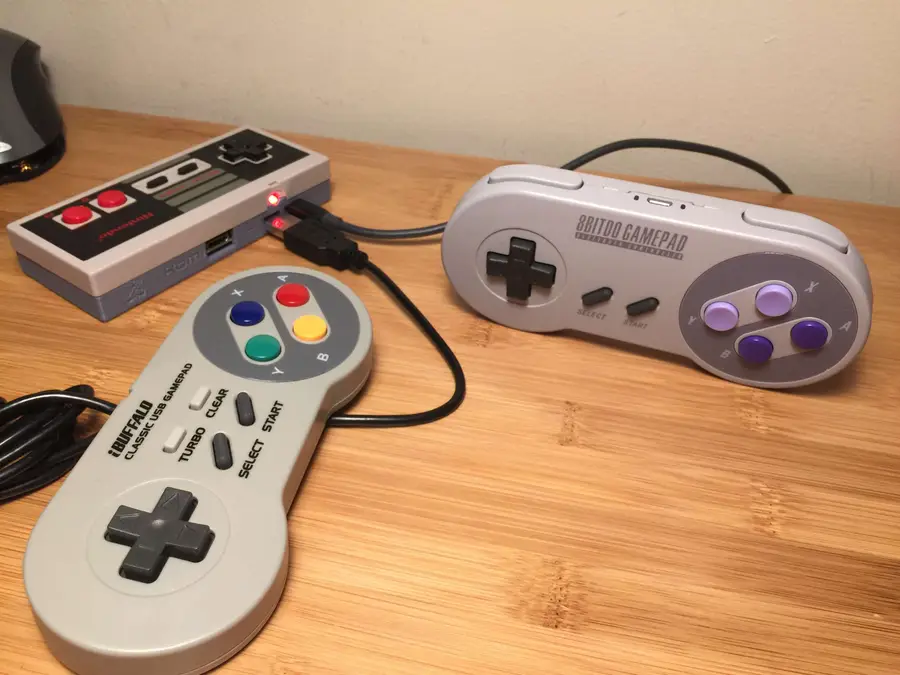
1. Connect a USB gamepad:
2. Use a bluetooth controller:
configuring RetroPie bluetooth controllersHow to Use a Wireless Bluetooth Controller with RetroPie18
All done!