
Raspberry Pi Car Computer Autopi Carputer
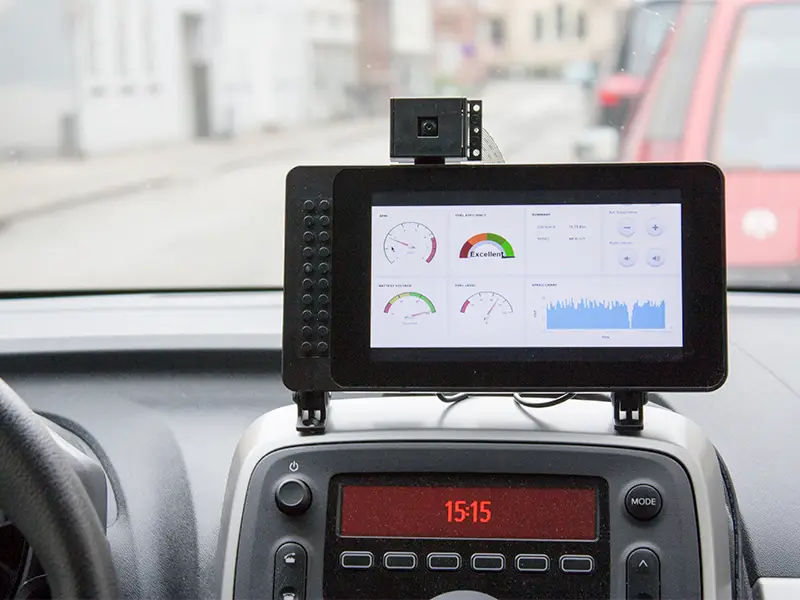
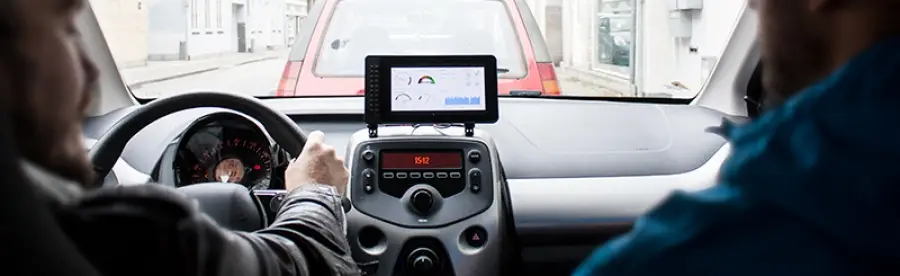
The final setup

Because the AutoPi connects to your car’s ODB-II port, it can monitor your car’s vitals and alert you to issues.
Assemble the case
Rather than requiring custom hardware or a 3D-printed case, the AutoPi utilizes the SmartPi Touch case. See the following video for detailed instructions on assembling the case:
Install the AutoPi adapter
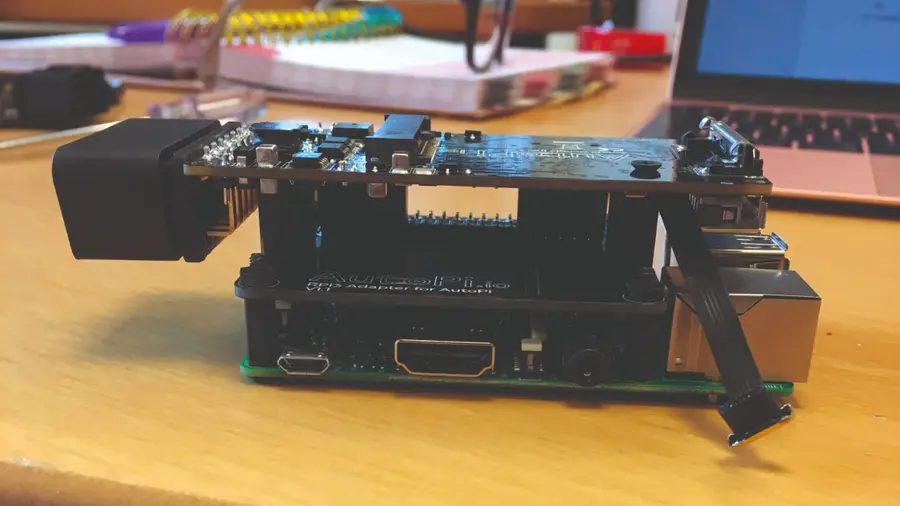
The AutoPi adapter is made up of two parts: a board that connects to the Raspberry Pi 3 itself, and a dongle that connects to your car’s ODB-II data port.
Install the AutoPi SD card image
The AutoPi library itself is available as a pre-made SD card image. Use a tool such as Etcher to burn the SD card image directly onto your Pi’s SD card.
Mount the AutoPi
Using GoPro mounts, the AutoPi can mount anywhere. If you want to get fancy, you can integrate it directly into your dashboard. Otherwise, just mount it to your dashboard or windshield.
Connect the dongle
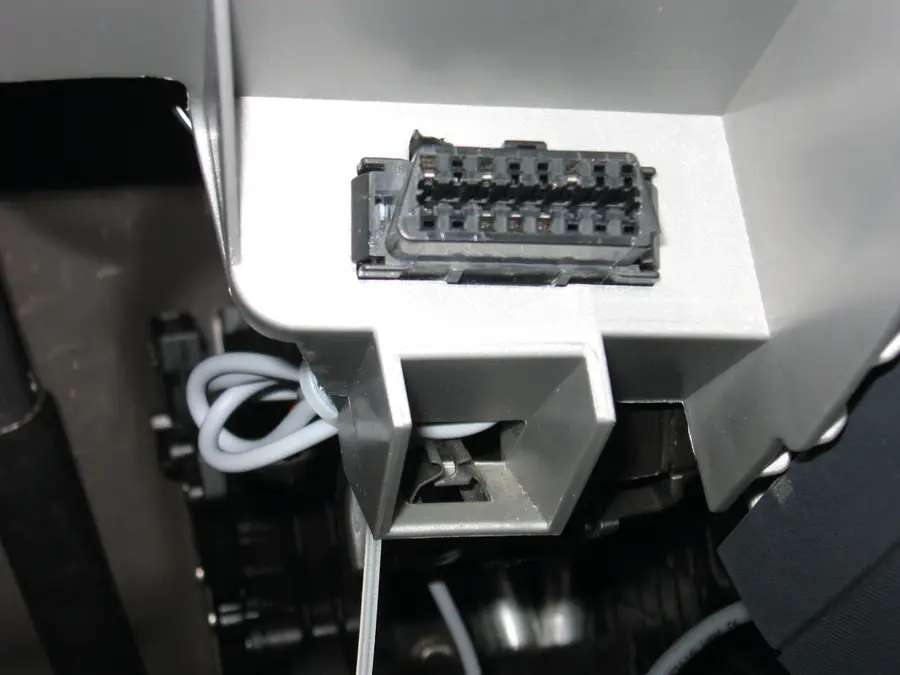
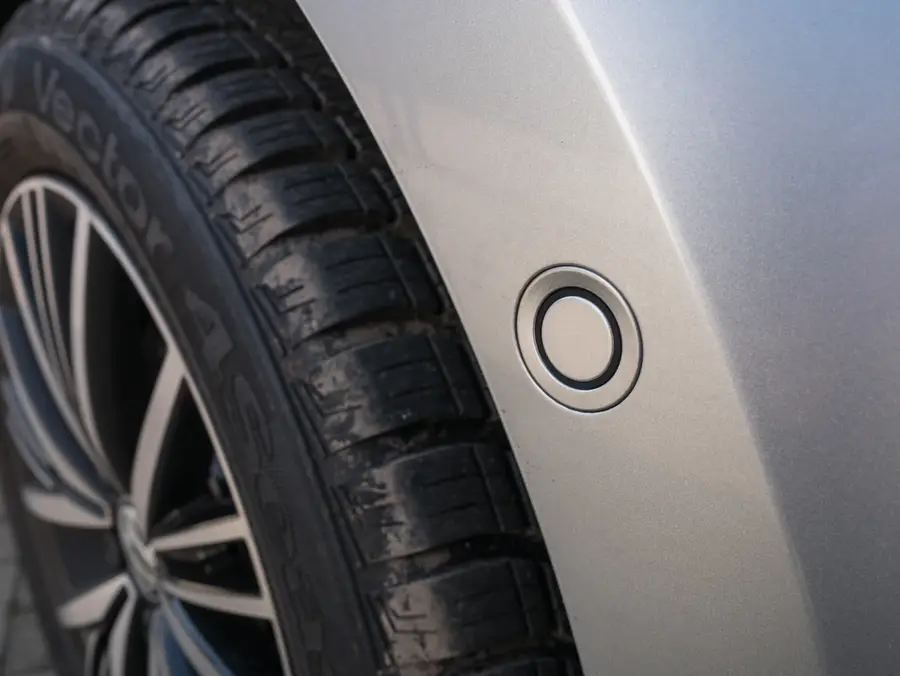
Connect the AutoPi dongle to your car’s ODB-II port. This port can be found beneath the steering wheel, somewhere on the driver’s side.
There are several versions of the AutoPi dongle available. A few of them come with a Raspberry Pi Zero preinstalled, but there’s also a cheaper version where you “bring your own Pi”. The DIY version should be enough, especially if you want to use the larger, more powerful Raspberry Pi 3.
Create your AutoPi account
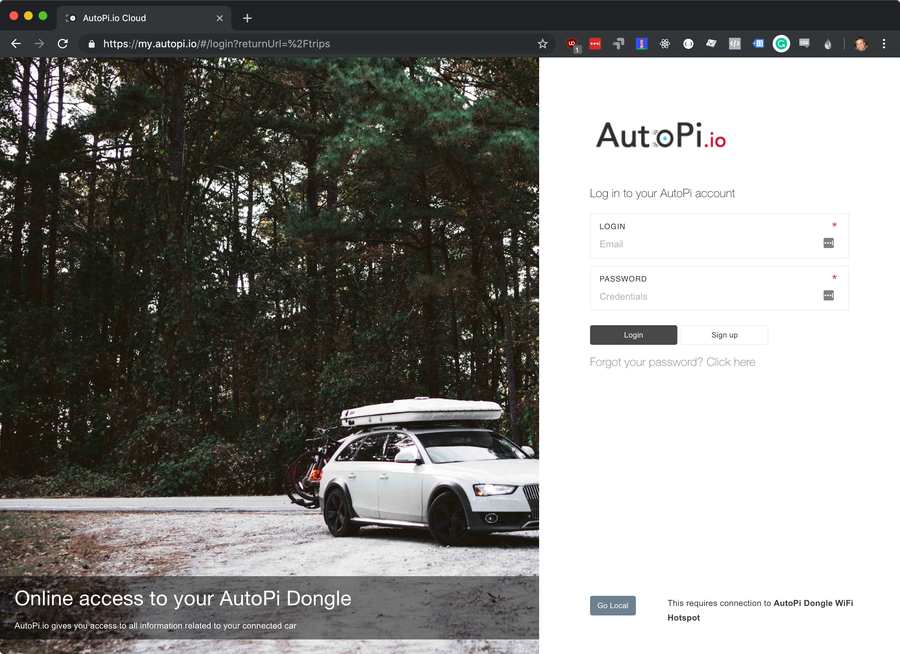
Visit AutoPi.io to create your AutoPi account. You’ll need to connect to your Raspberry Pi and run the following command to generate your unique ID:
How to Connect to a Raspberry Pi Remotely via SSH
The preferred (and most common) method of connecting to your Pi to run commands.
grains.get idInstall and configure the AutoPi GUI
By default, the AutoPi has no graphical user interface. We’ll need to install one.
Install the interface
The graphical interface is technically a website that needs to run in Chromium’s Kiosk mode. You can learn how to install the interface using this guide.
Configure the interface
Once you’ve installed the interface and logged in, you’ll be able to configure it.
Further customizations
You can add tons of other customizations to your Raspberry Pi car computer, including:
- A dash cam using the official Raspberry Pi camera
- Parking sensors
- Voice control, similar to building a Raspberry Pi Echo
- Auto-lock/unlock functionality
- In-car mobile hotspot
- And more! See AutoPi.io’s use cases section for more ideas.
Build Your Own Raspberry Pi Amazon Echo
Hello, Alexa Voice Service.
Learn more
For more details on installing, configuring, and using the AutoPi, visit AutoPi.io. Be sure to also check MagPi Magazine’s excellent coverage of the AutoPi!