Raspberry Pi Gadget Mode
Flash Raspberry Pi OS onto your SD card
First we need to flash Raspberry Pi OS onto an SD card. If you need help with this process, please follow our guide on how to install Raspberry Pi OS on your Raspberry Pi.
How to Install Raspberry Pi OS on Your Raspberry Pi
Get the new official Raspberry Pi OS on your Pi.
Edit config.txt on the boot partition
With Raspberry Pi OS installed on the SD card (and the SD card still mounted on your computer), you can use Finder or a shell to navigate to the boot directory. Now edit the file called config.txt, and append the following:
dtoverlay=dwc2Save and exit.
Enable SSH
We can SSH by simply adding an empty file called ssh directly in the boot directory.
On the command line, you can navigate to the boot directory and run:
touch sshNote: The file must be called “ssh” not “SSH” or “ssh.txt” or anything other than “ssh”.
Edit cmdline.txt
Now, edit the file called cmdline.txt. Look for rootwait, and add modules-load=dwc2,g_ether immediately after.
Note the formatting of cmdline.txt is very strict. Commands are separated by spaces, and newlines are not allowed.
Here’s an example of what my cmdline.txt file looks like, but you should not copy this. Simply add the required command mentioned above.
console=serial0,115200 console=tty1 root=PARTUUID=6c586e13-02 rootfstype=ext4 elevator=deadline fsck.repair=yes rootwait modules-load=dwc2,g_ether quiet init=/usr/lib/raspi-config/init_resize.shSave and exit.
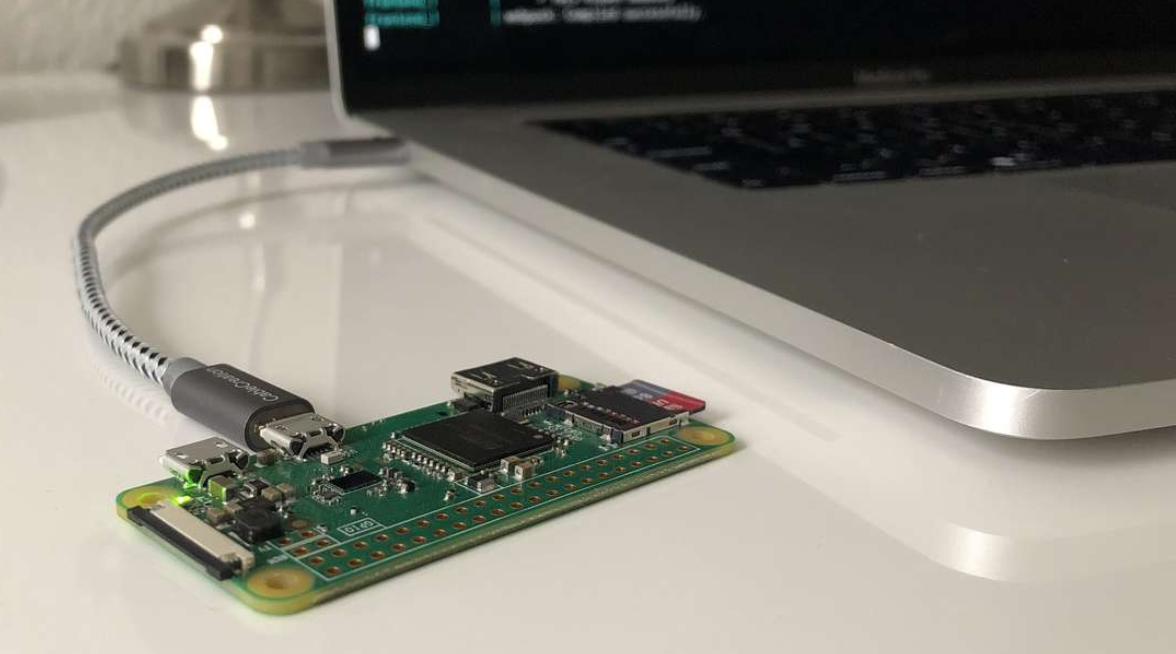
Connect over USB and boot the Pi
That’s it for configuration! Now you can eject the SD card, and insert it into the the Pi. Using a USB cable, connect to the Raspberry Pi from your computer.
After the Pi boots up (this will take a while initially), the Pi should appear as a USB Ethernet device, and you can SSH into it using:
ssh [email protected]Enjoy!