
Setting up the Anycubic Kobra Go
1
Unboxing your Anycubic Kobra Go
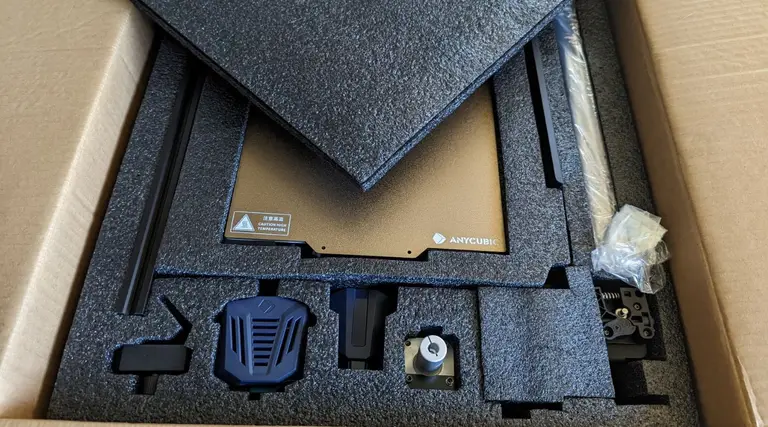
2
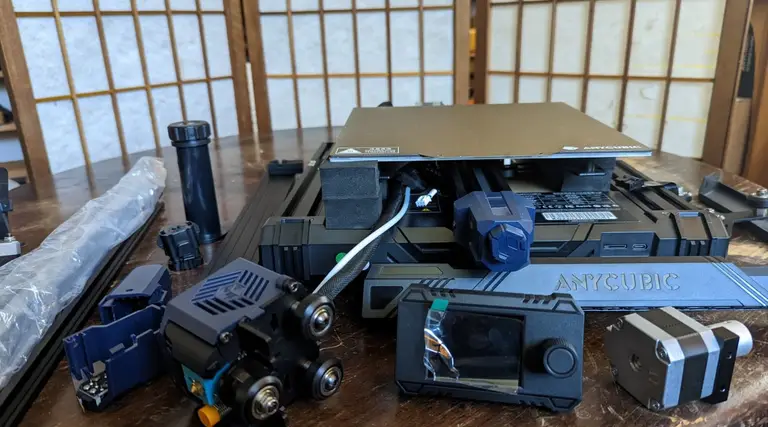
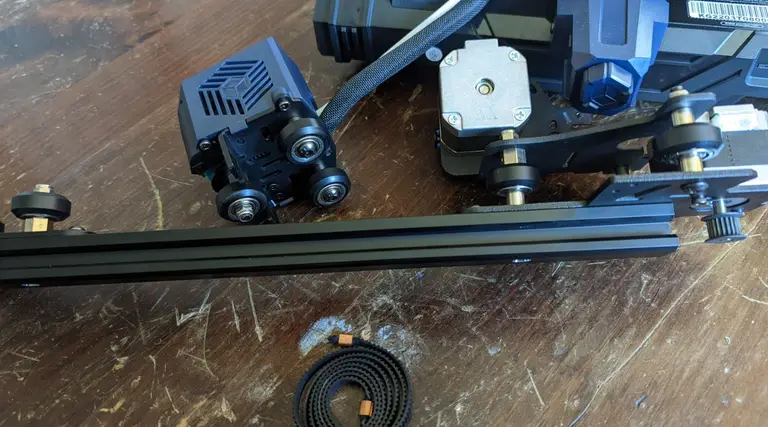
Familiarize yourself with the components of your new Anycubic Kobra Go
In the kit I received, some of the screws were mislabeled
3
Install the Z-axis profiles
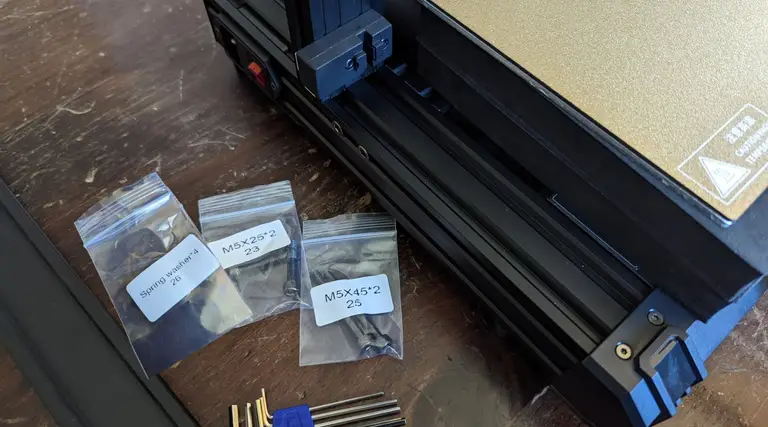
- Spring washer x 4 (#26)
- M5x25 screws x2 (#23)
- M5x45 x2 (#25)
4
Screwing in the Z-axis profiles
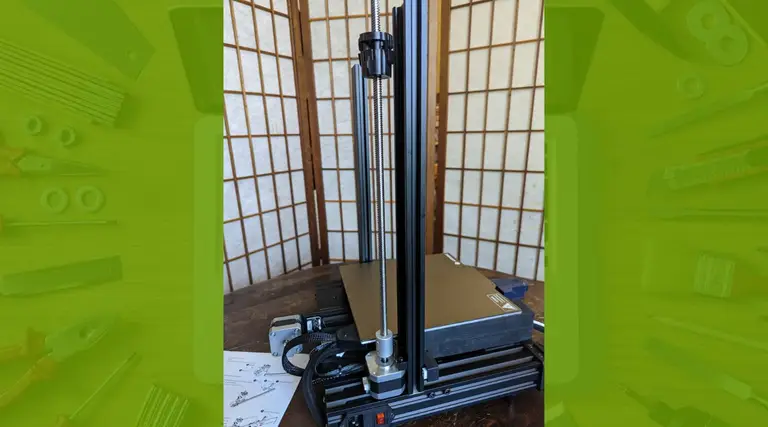
5
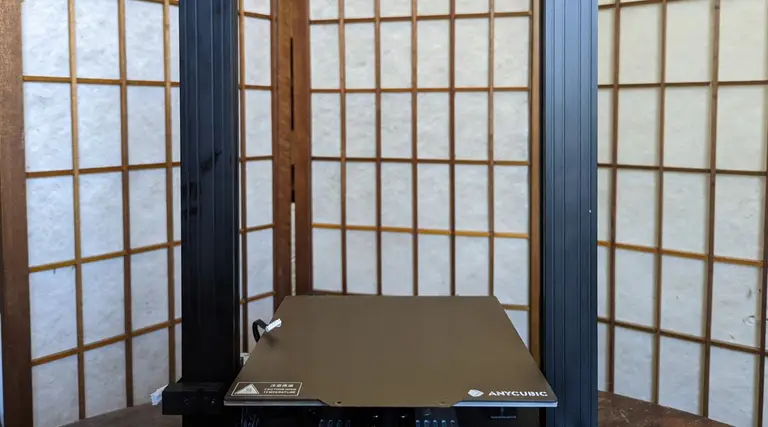
Admire your Z-axis profiles
6
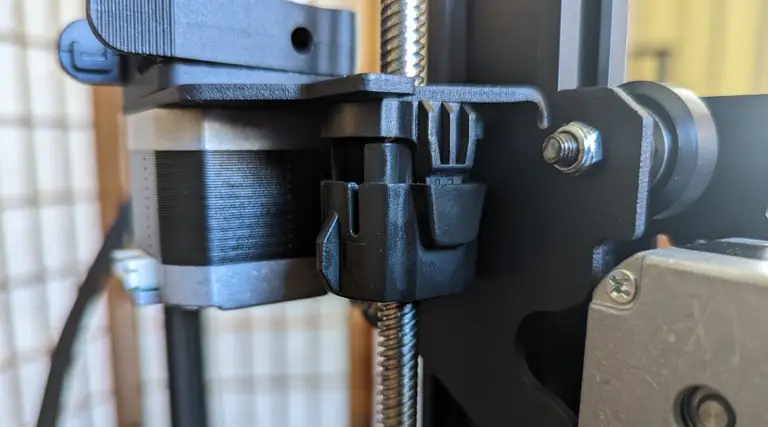
Installing the Z-axis motor kit
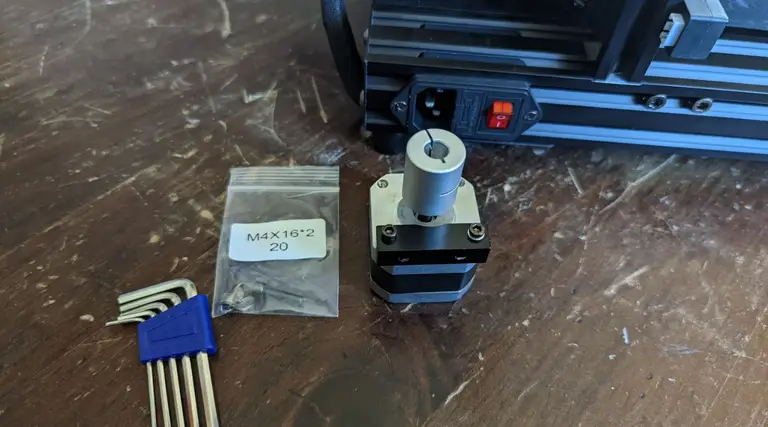
- The motor
- M4x15 screws x2 (#20)
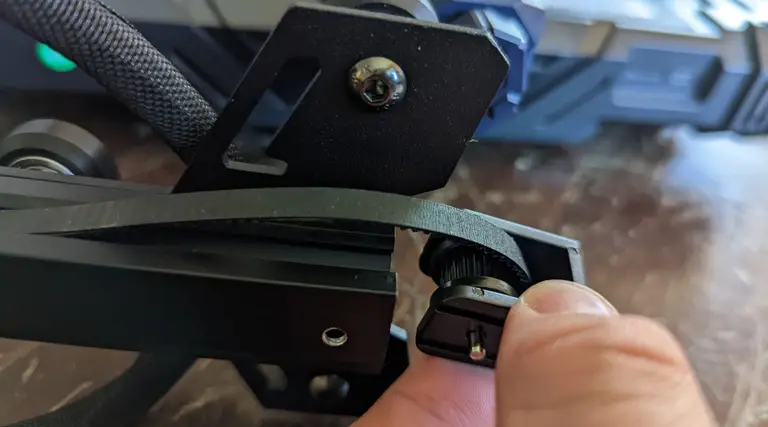
7
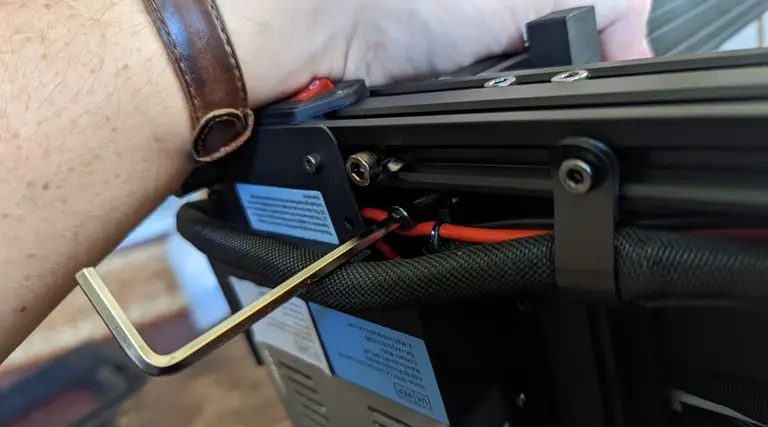
Attach the Z-axis motor kit
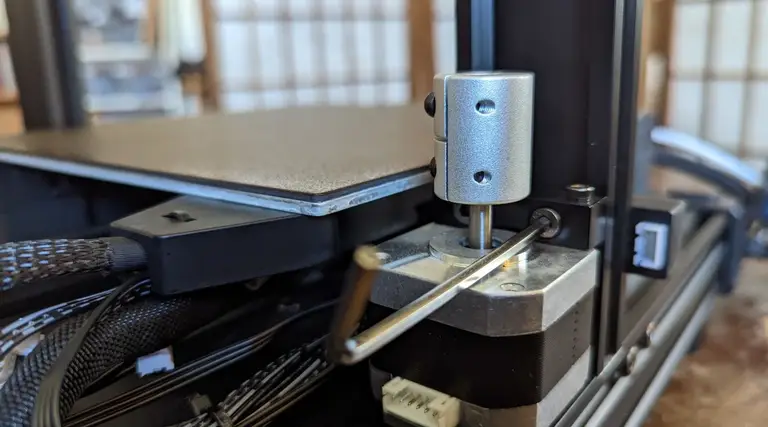
8
Prepare the Z-axis screw
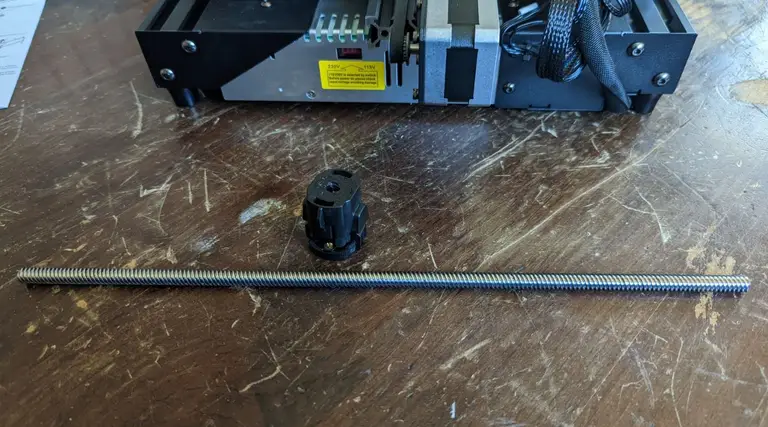
9
Attach the anti-backlash nut
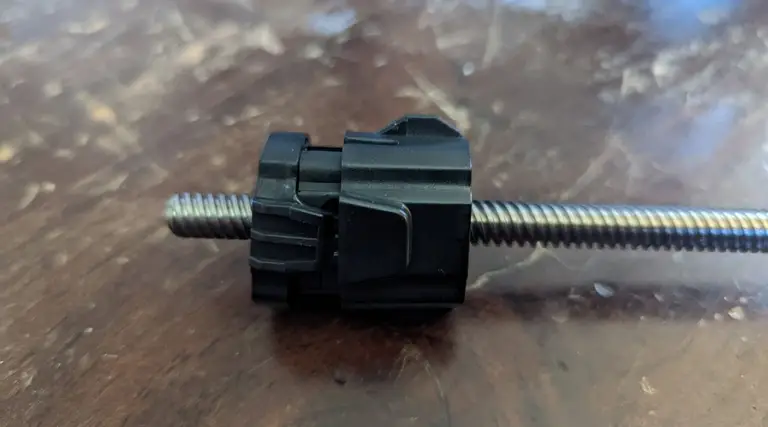
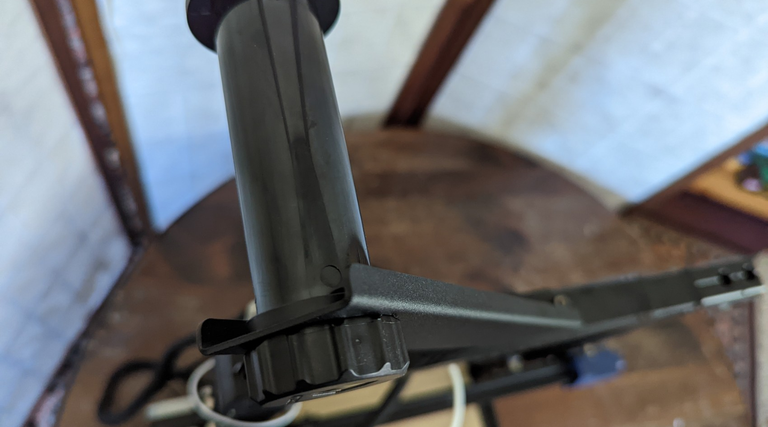
10
Tighten the screw coupling and attach the screw
11
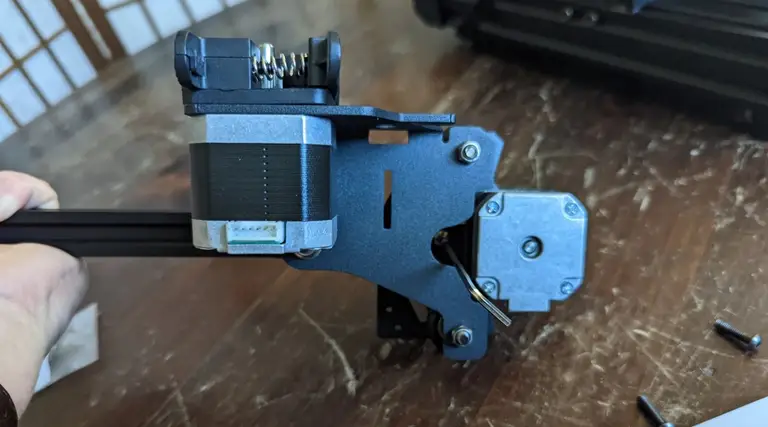
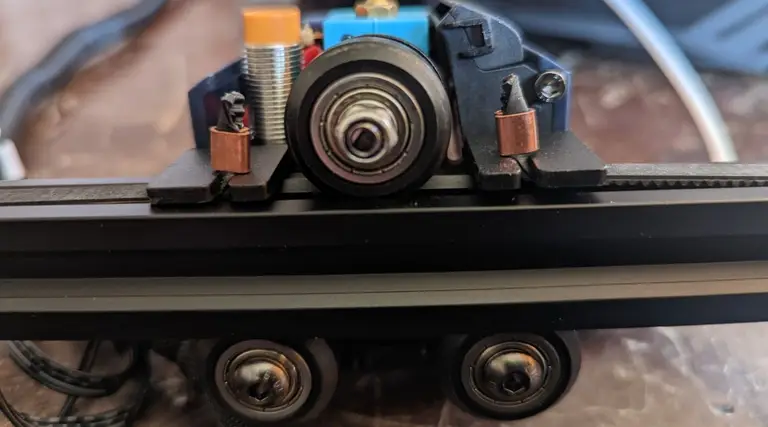
Prepare the XE axis kit
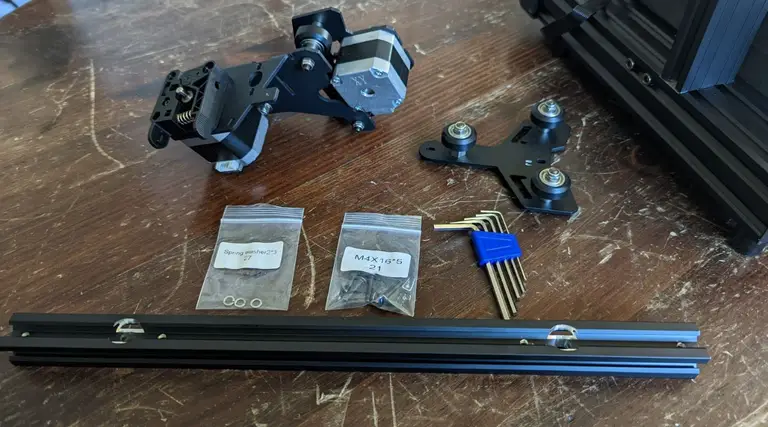
- Spring washer 2 x3 (#27)
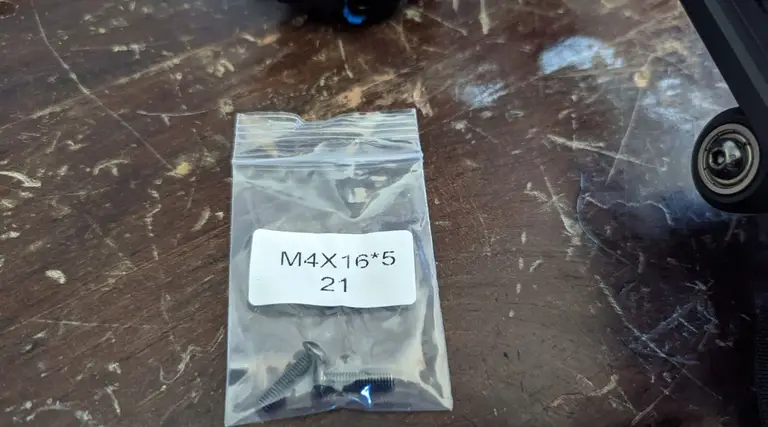
- M4x16 x5 screw (#21)
12
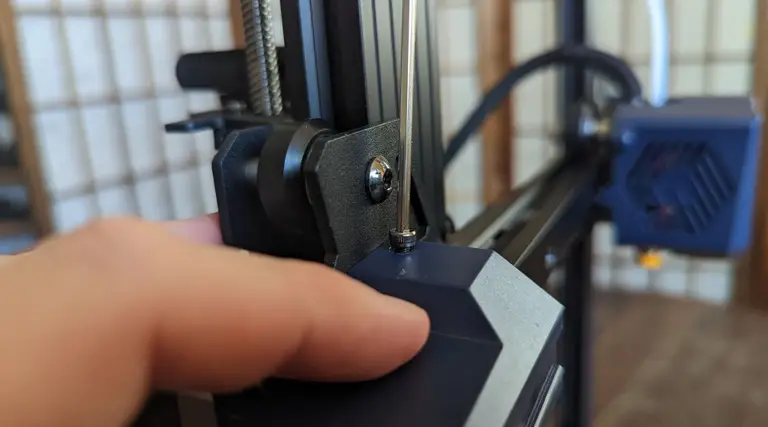
Attach the XE axis to the X-axis profile bar
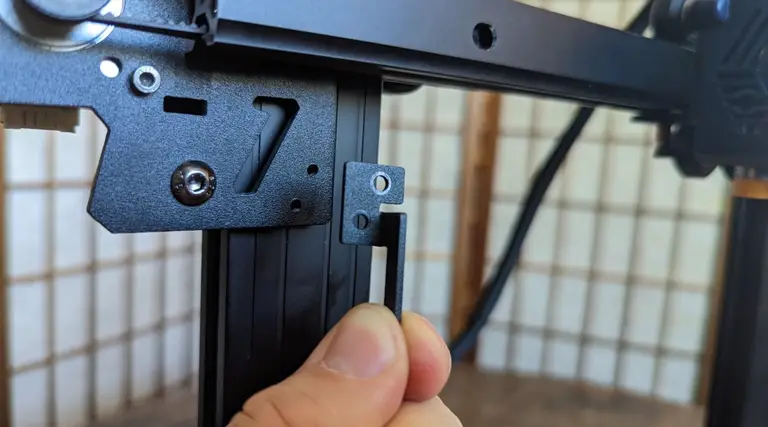
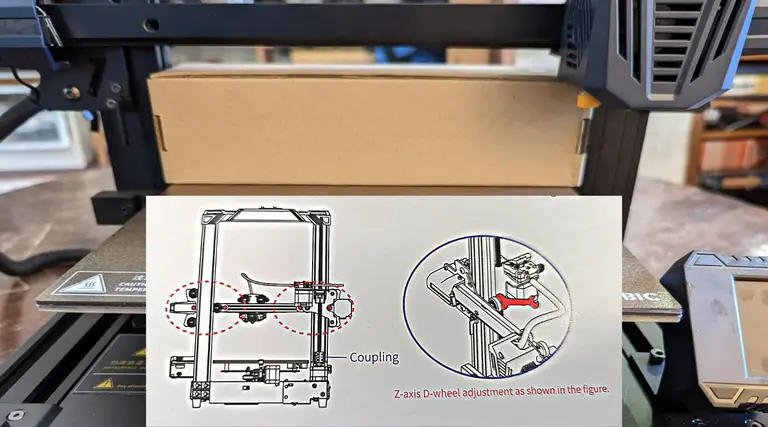
13
Install the Z-axis passive block
14
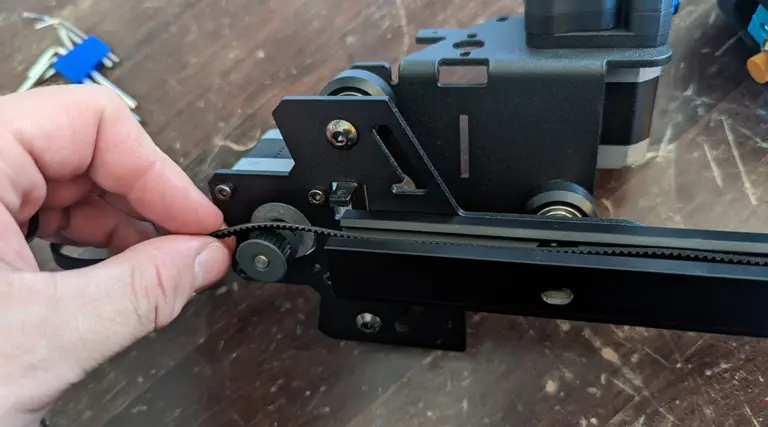
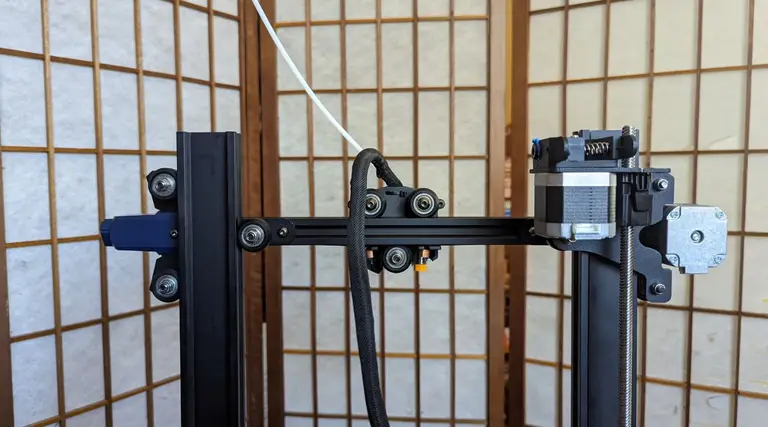
Install the synchronous belt
15
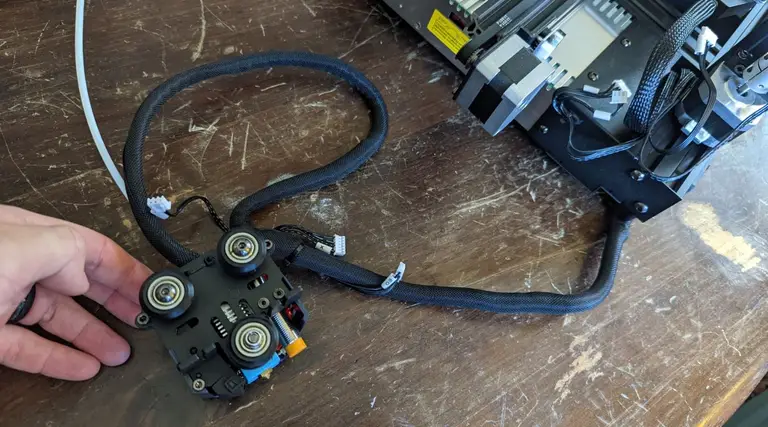
Install the Kobra Go print head
16
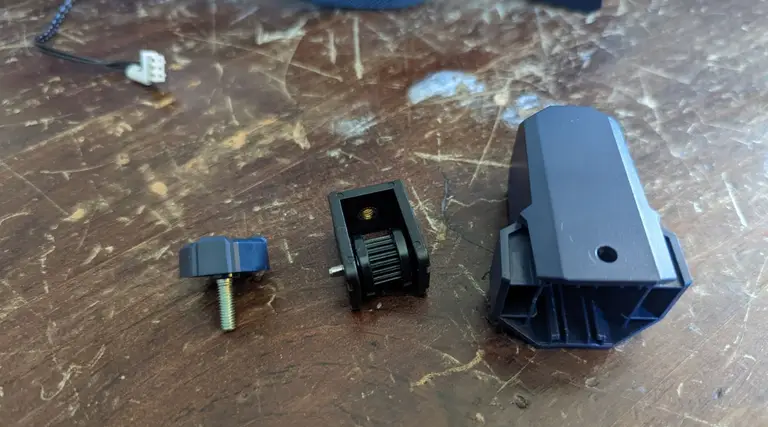
Install the X-axis tensioner
17
Thread the belt into the X-axis tensioner
18
Clip the belt onto the print head
19
Bolt down the X-axis tensioner cover
- M4x16 screw x2
20
Install the X-axis component
21
Align the anti-backlash nut
22
Install the photoelectric switch baffle
- M3x8 x2 screws (#18)
23
Install the top beam
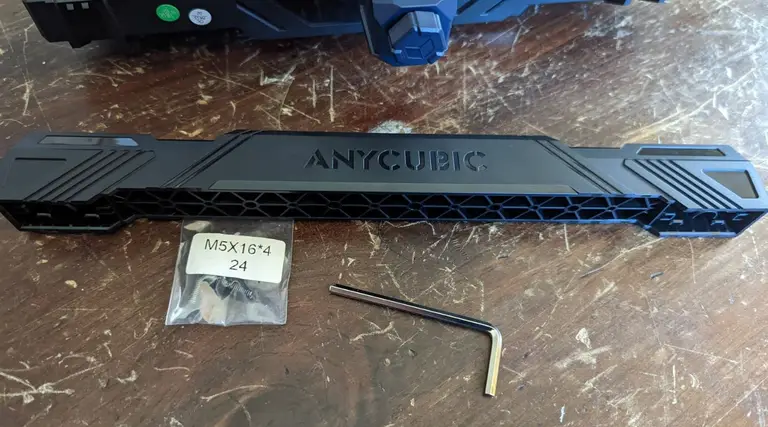
- M5x16 x4 (#24)
24
Install the screen kit
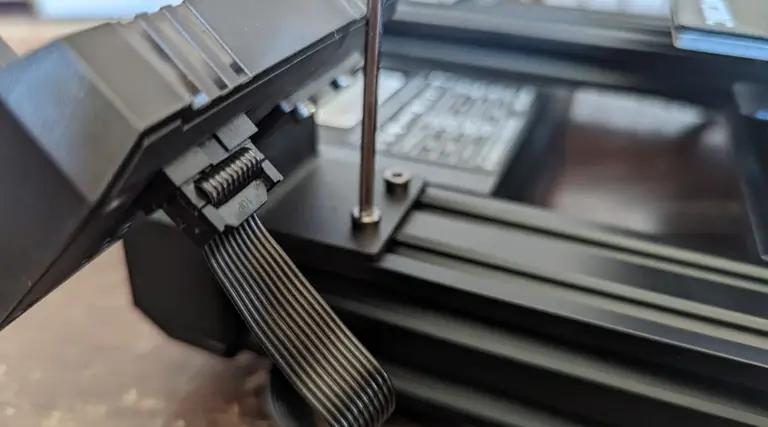
25
Install the X-axis photoelectric switch
26
Connect the wires
27
Install the filament holder
28
Check the X-axis horizontal calibration
29
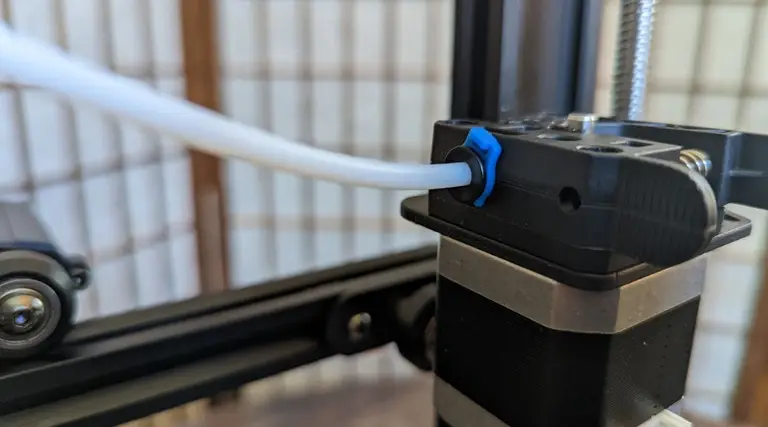
Connect the Teflon tubing
30
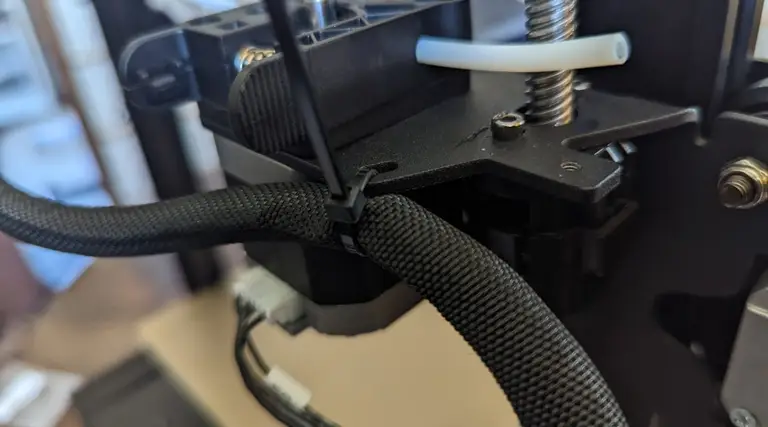
Tie cabling
31
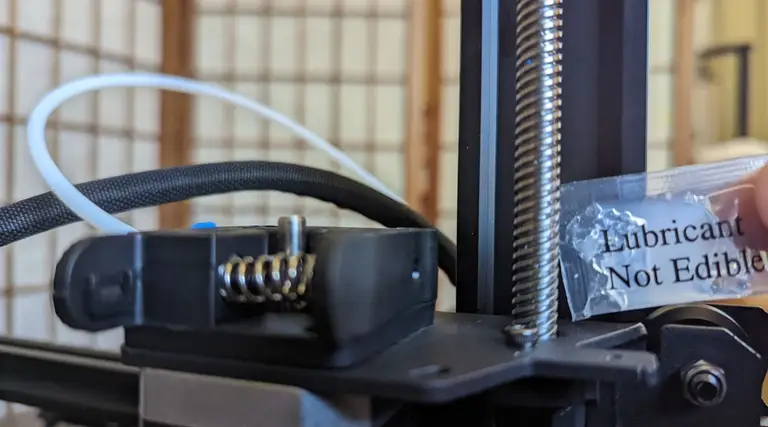
Grease the screw
32
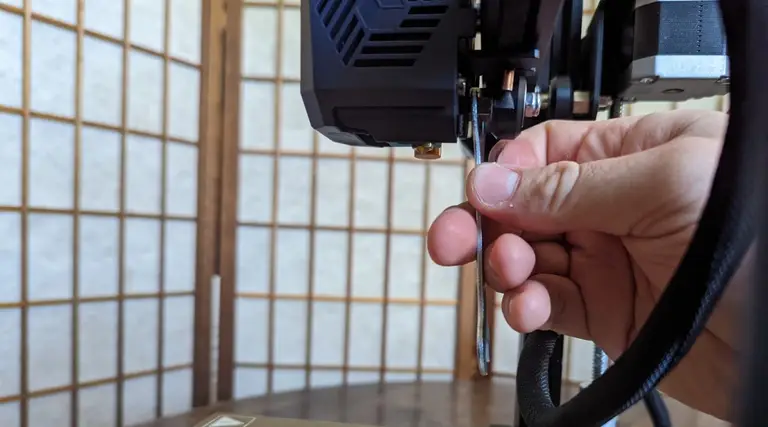
Adjust the print head for wobble
33
Level the print bed
34
Enjoy your new Kobra Go 3D printer!
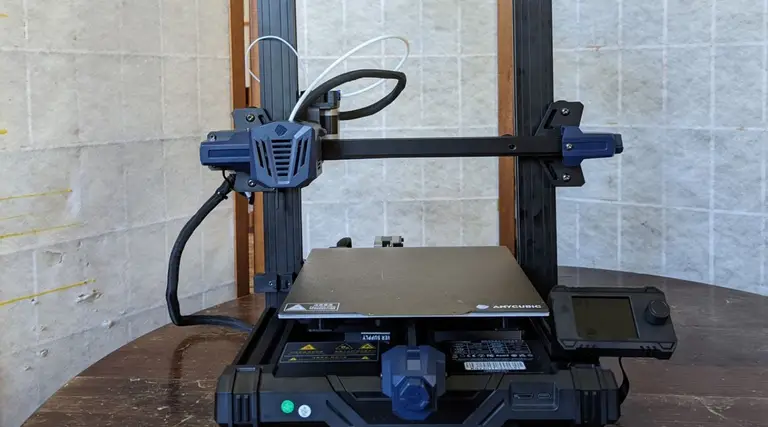
Before you can use your new Kobra Go 3D printer, you will want to level it,guide for loading filament and preparing for your first printBut, otherwise, your new printer is ready to go!Creality’s Ender 3 v2